Hello everyone!
 |
| Giant panda eating bamboo water decals & Giant panda cub water decals |
Bai Yun's sixth cub was born July 29, 2012, and is 5 months old this weekend. His name is Xiao Liwu, which means Little Gift. I have been following the development of Bai Yun's giant panda boy in San Diego Zoo online, and that's why I chose the Giant Panda and Giant Panda Cub water decals from KKCenterHk. The other reason was that I found it difficult to paint pandas on my tiny nails. And to my surprise pandas were popular in the Tokyo Nail Expo 2012 Nail Art Contest. Today I will show you the water decals, and some videos of "my" cute giant pandas. And you will find links to where you can buy the panda water decals, and my 10% coupon code. :-)
WATER DECALS: GIANT PANDA and GIANT PANDA CUB
 |
| Giant panda eating bamboo water decals |
 |
| Giant panda cub water decals |
|
|
|
|
|
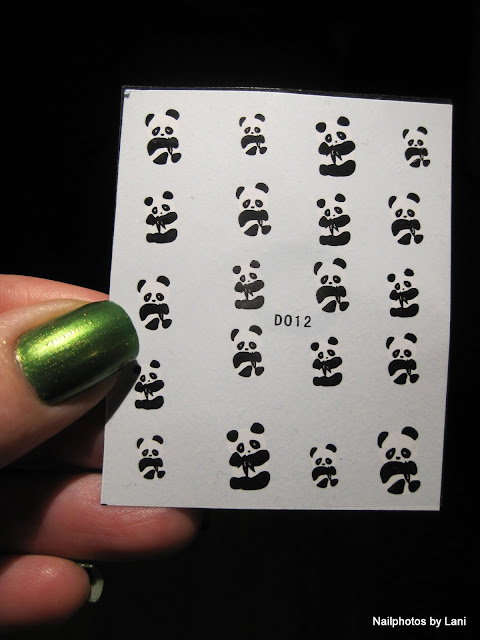 |
| Giant panda cub water decals (black and white) |
 |
| Giant panda eating bamboo water decals (black and clear) |
Me and my friend started to watch the cub grow on the
PandaCam from San Diego Zoo. But soon we found summary- videos on YouTube. In the beginning he was a tiny little pink baby, but now he has got his typical panda colors, his eyes and ears are fully open, and he is getting quite big. Then he started crawling and managed to climb into the den after falling out. And now he has started climbing trees and tasting bamboo.
 |
| Giant panda cub water decals |
 |
| Giant panda eating bamboo water decals |
 |
| Giant panda cub water decals |
 |
| Giant panda eating bamboo water decals, with bite marks |
 |
| Giant panda cub water decals |
 |
| Giant panda eating bamboo water decal |
 |
| Giant panda cub water decals |
 |
| Giant panda eating bamboo water decals |
Here's the closest I could come to a panda:
 |
| Giant panda eating bamboo water decals |
 |
| Giant panda eating bamboo water decals |
 |
| Giant panda eating bamboo water decals |
How I did this:
 |
| Black and white giant panda cub water decals |
 |
| Black and clear giant panda eating bamboo water decals |
Using water decals is easy, but as with everything else, the first time you have to know what to do. Emily (from Very Emily) has made a very good "How to" tutorial. Just click
here.
I followed her tutorial, but found out that it was easier to use tweezers. If I just dropped the water decal in the warm water, the water decal separated from the paper, and I struggled to fish it up with my fingers and apply it the right way on the nail. I also found out that I had to work fast when moving the water decal around on the nail, to get it where I wanted it. The first time I managed to tear it, but I think that happened because I didn't put enough water on my nail before trying to apply the water decal.
 |
| Giant panda eating bamboo water decals & panda cub water decals |
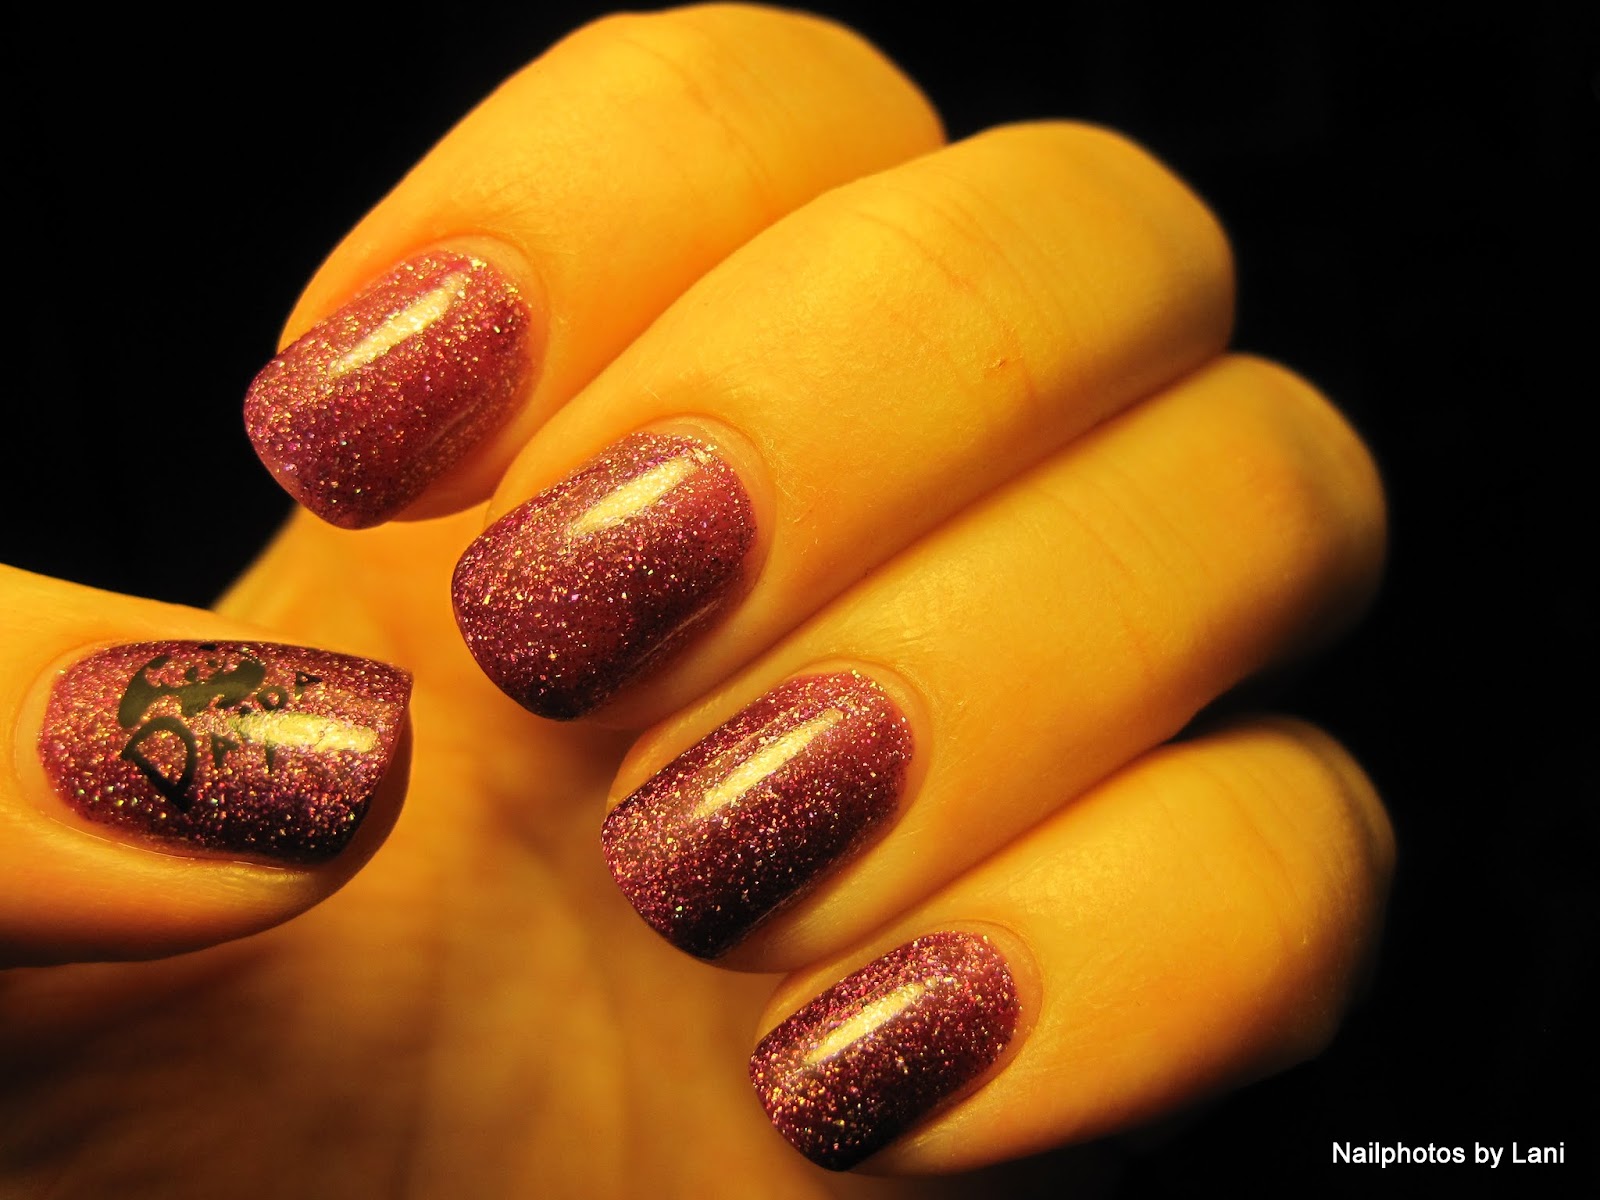
It is also important to find out which color your water decal has, so that you can choose a good background color. I found out the hard way that only the cub was in black and white, as you see on my thumb below. If you experience that your water decal doesn't go with the nail polish you have chosen, make sure that you keep it wet, and carefully slide it back to it's wet paper. If you look at the picture above, the water decals on the top row are black and clear, and the ones on the second row are white and black.
The images are in different sizes, and you can choose which direction you want them to face on your nails. So, if you want to, your hands can look like mirror image of each other.
 |
| Giant panda eating bamboo water decal |
 |
| Giant panda cub water decals |
 |
| Giant panda cub water decals |
 |
| Giant panda cub water decals |
I have small nails, but if you have bigger nails you will probably have room for some bamboo stamping or you can draw a nice background.
What I used:
Base- and top coat
Purple scattered holographic nail polish
White cream nail polish
Panda water decals
Scissors
Egg glass
Lukewarm water
Tweezers
Tissue paper
 |
| Giant panda eating bamboo water decals |
 |
| Giant panda cub water decals |
Links to giant panda water decals:
Giant panda eating bamboo/ on my left hand:
http://www.kkcenterhk.com/Nail-Water-Decals-Animals/c106_147/p9338/N.NAIL-Kai-Kai/Jia-Jia/Panda/Bamboo-Leaves-Eating-Water-Decals/product_info.html
Giant panda cub/ on my right hand:
http://www.kkcenterhk.com/Nail-Water-Decals-Animals/c106_147/p5164/N.NAIL-Water-Decals-Nail-Art-Panda-WDD012/product_info.html
If you want to buy something from
KKCenterHk, you will get 10% discount with my coupon code "Nailphotos by Lani" until January, 31st, 2014. I just got it renewed! :-)
 |
Giant panda eating bamboo water decals & Giant panda cub water decals
|
PANDA VIDEOS
I have selected 7 videos for you: (Edit: I added one new video today, January, 11th, 2013)
Here is one video where you see small parts of his veterinary exams and you can see his development the first 100 days:
Here are two videos made by DoxieMom19:
In the first one you can see the cub after 2.37 minutes, and soon thereafter his mother comes into the den.
His 16th veterinary exam:
Panda playtime:
This is the most resent video of the cub. It was shared by San Diego Zoo on facebook today. Look how big he is now!
His walking isn't perfect yet, but he already tries to climb:
(Long video! -made by DoxieMom19)
Other giant panda toddlers (This video is also made by DoxieMom19) :
Panda Cub ( Xiao Liwu) debuts on Exhibit January, 9th, 2013: (- video by SDZoo (San Diego Zoo))
What I like with water decals is that it's a quick way to get nail art on my nails, and it looks professional. For me who am struggling to get nice lines when painting, and in addition have small nails and therefor little room for nail art, water decals are great.
I have tried to make panda nails twice before. Below you can see what I made for Polish Days Sentimental, but didn't think was good enough to show you.
 |
| Stamped and painted panda nail art |
On the thumb and ring finger, I stamped using
this stamping plate (SPPMB114) from KKCenterHK, and tried to fill in the bear image with panda colors.
 |
| Stamped and painted panda nail art |
On the middle finger, I tried to copy the panda nail art by Thriszha on the top of
this page.
 |
| Stamped and painted panda nail art |
And here is a part of what I wrote for Polish Days Sentimental:
I chose to make panda nail art, because the giant panda birth this summer has made me sentimental on many levels. Every time I see the panda cub, it makes me happy and sentimental. And when I see how well his mother Bai Yun takes care of him. But also how the staff in San Diego Zoo has learned to handle the cub. Like when they found out that if they held a hand under his head, he would press his head down as if he liked to cuddle and feel the warmth from the hand, and this made the veterinary exams a much better experience for him. He seemed calm, and didn't vocalize. But also it makes me sentimental when countries cooperate and do positive things, instead of stupid conflicts and war, or not treat the animals or humans that live in the country with respect. In this case, the cub's birth is a result of China and the US working together. And although Bai Yun now has given birth to her sixth cub, it's actually very difficult to help pandas get pregnant, and to save the species. What's also nice is that San Diego Zoo is filming the den and showing it to us. The
Panda Cam is live 24/7. It also makes me sentimental that animal lovers from all over the world are watching over him.
I wish you a positive and happy new year! And thank you KKCenterHk for giving me these cute panda water decals!
Lani