Showing posts with label nail foil. Show all posts

Monday, November 10, 2014

#52WPNMC - 3 shades of blue and blue foil


Hello everyone!


"3 shades of blue" is one of the themes this week in the 52 Week PICK N MIX Challenge (#52WPNMC).

My 3 blues are:

Sally Hansen: #420 Pacific Blue
Deborah Lippmann: Blue Orchid
Picture Polish: Freya's Cats


What I did:

The base is Pacific Blue. Then I made stripes with the brush from the bottles of Blue Orchid and Freya's Cats. Because I don't have a top coat that doesn't destroy the foil, I applied Seche Vite (top coat) before painting the foil glue on, and applying the blue nail foil. I bought the foil from KKCenterHk.


Sally Hansen: #420 Pacific Blue looks prettier than on the photo below:


I've only read good things about Pacific Blue, and when everybody started to buy as many back up bottles they could, I got curious. And now that I'm wearing it, I must say that I really understand the hype! This is a very beautiful royal blue, and it reminds me of my dear old Dior #489 Cobalt. Sally Hansen has made a new blue polish and given it the same name. I found this bottle on eBay.

With the stripes:


With the foil:


Freya's Cats and Blue Orchid are two of my favorite blues, but I haven't showed swatches of them yet. When I do I'll add inks here. One coat of both was enough here. Freya's cat's is created by Nihidra. 


I've used Blue Orchid for nail art 3 times:

LIVE ♥ laugh ♥ love
Easter chicks
Vintage Flowers - freehand nail art - inspired by xoJahtna

I hope you've had a nice weekend!


Lani

Sunday, December 8, 2013

Nail Polish Canada's 2013 HOLIDAY NAIL ART CHALLENGE WEEK 2 - DECORATIONS

Tinsel & Christmas Ornaments


Hello everyone!


My new e-mail from Nail Polish Canada explained that: "This week's nail art challenge is DECORATIONS. Lights, trees, tinsel whatever your favorite holiday decorations are." My favourite Christmas decoration is a palm tree decorated with lights, but that was too difficult for me, so I tried to make tinsel and Christmas ornaments.

To vote for your favourite, and look at all the entries, click here. If you want to participate, you can see details and still register here.


What I did:

I started with the dark green sparkly textured nail polish; IsaDora #112 Emerald Crush, that I bought in October. It's opaque in two coats. This is what it looks like on it's own:


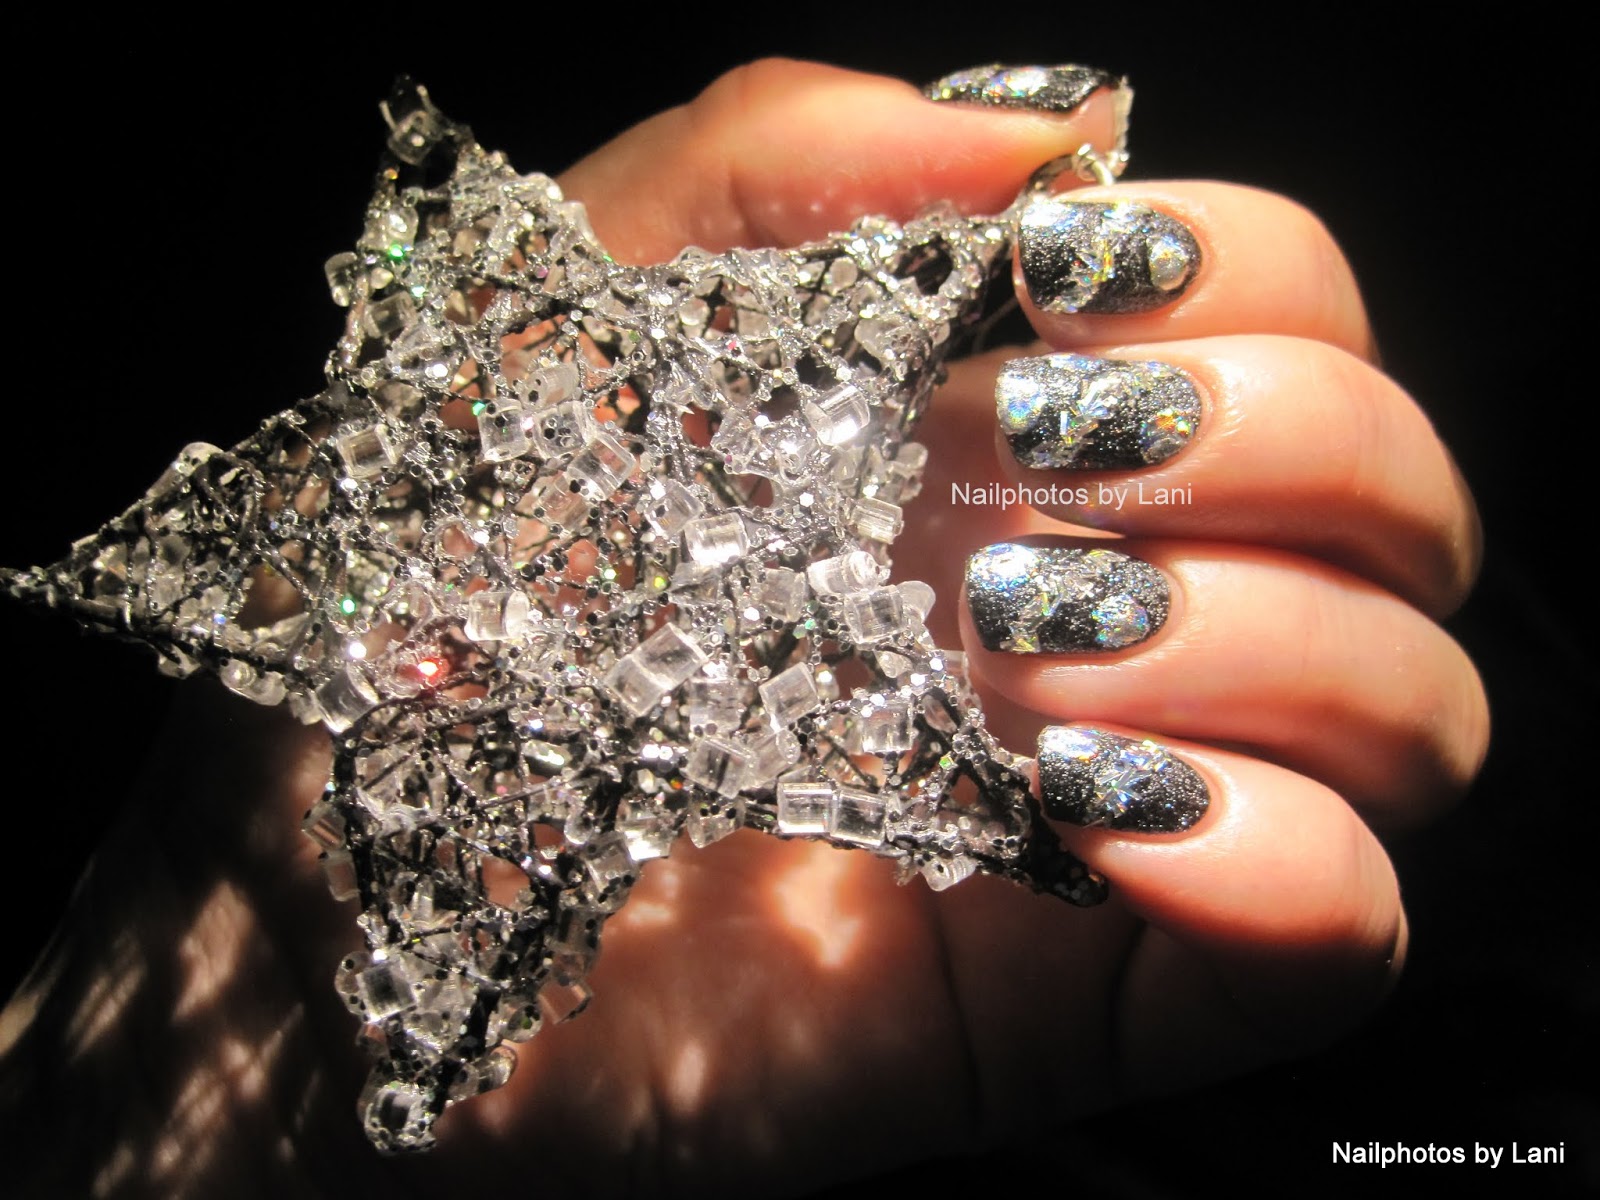
For the tinsel I used a silver holographic bar/ string glitter; IsaDora #861 Shanghai, that I bought on Friday. I put a little on my palette, not to get too much clear polish, and applied the glitter with a brush, and later a doting tool. Then I sealed the stripe of glitter with the clear polish. For my Christmas nails, tinsel is enough, but for the competition, I added a little more.


For the Christmas ornaments, I tried to make 3D circular shapes. This was not easy, so I had to do some clean up. They were made with one layer of Seche Vite, one with silver nail polish (only in the beginning), multipurpose glue, and finally I used a Q- tip to apply the holographic nail foil. (I have written about how to apply nail foil here.)


Products used:

IsaDora: #600 Clear
IsaDora: #112 Emerald Crush
IsaDora: # 861 Shanghai
Palette (a stamping plate)
Brush
Dotting tool
Seche Vite
H&M: Metallic Grey
Q- tip
N.NAIL Shiny Silver Nail Foil Transfer [NNAIL-E24] and glue -used here and here (10% KKCenterHk coupon code: Nailphotos by Lani)


If you want to participate, look at the other nail art entries, or vote for your favourite, use the links above.

I hope you are all doing well. I'm especially thinking about everyone affected by the wind/ hurricane in Europe. Have a nice weekend! :-)

Lani

Saturday, July 13, 2013

Holographic Nail Foil from KKCenterHk, and how to use it


Hello everyone!


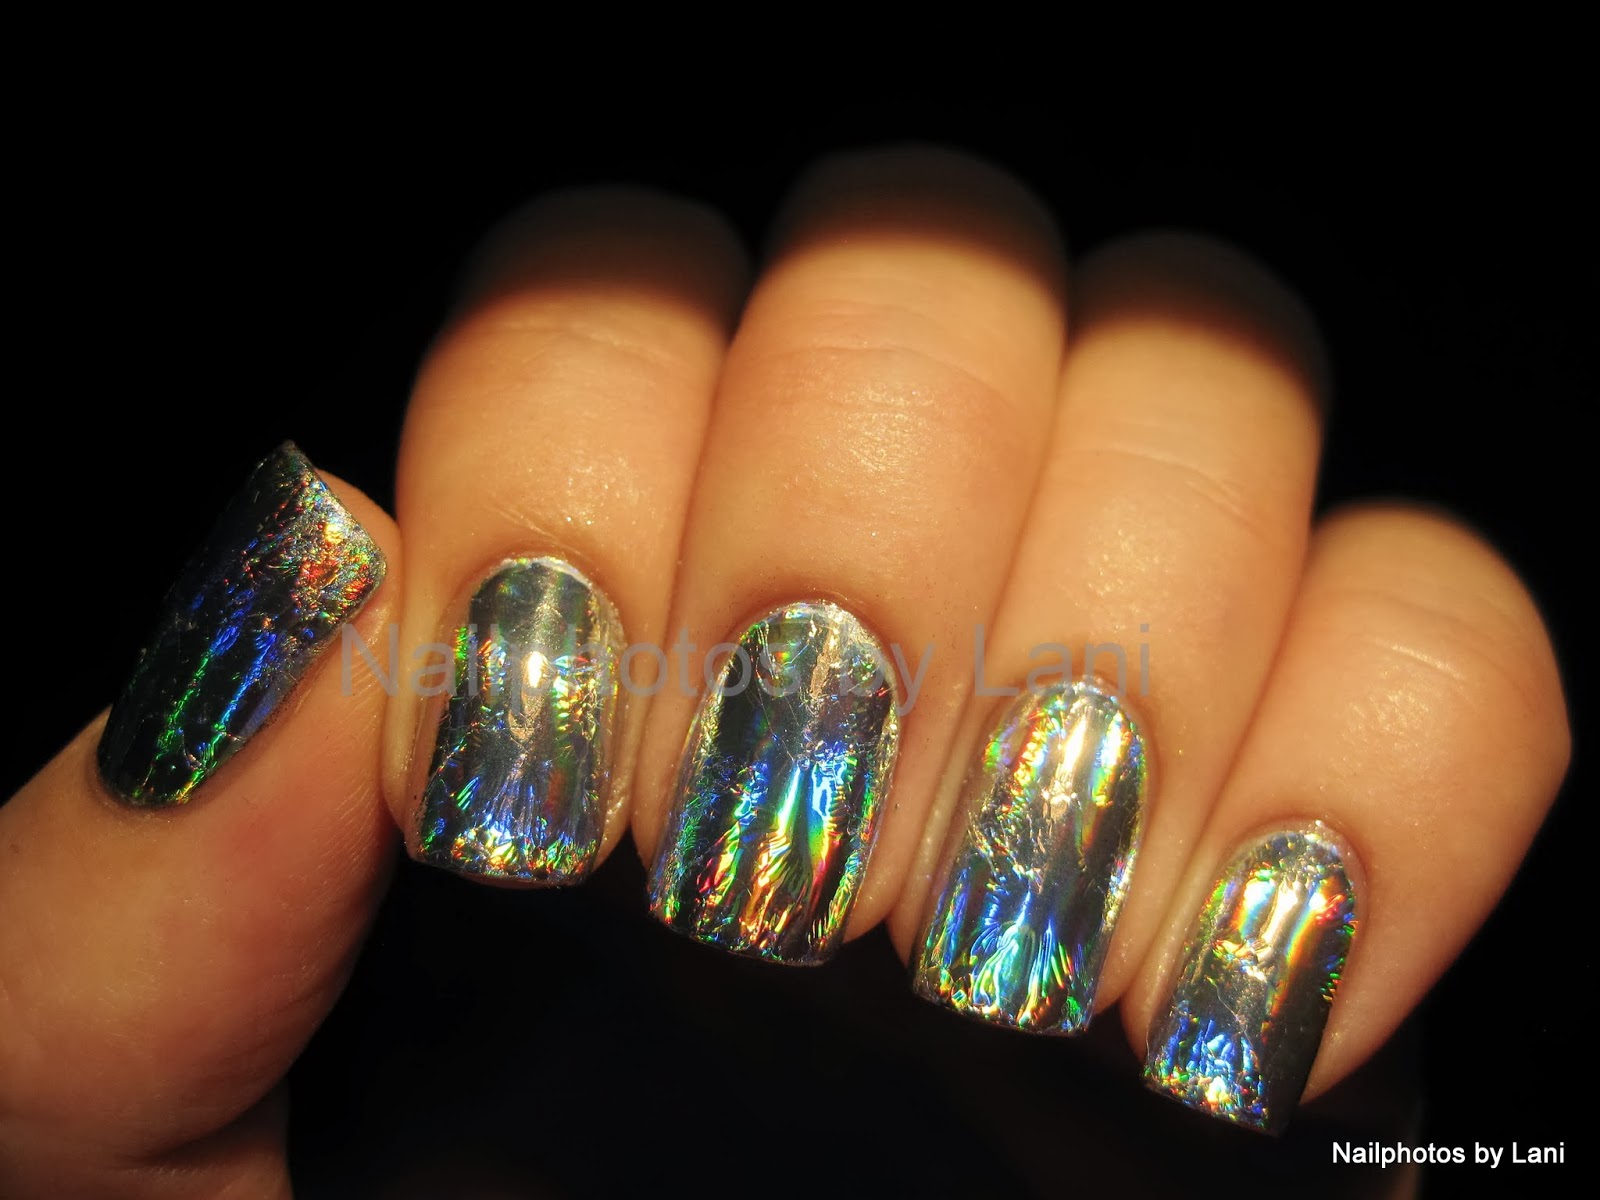
Today I want to show you the nail foil that KKCenterHk let me try. I have already showed this foil with huge drop shaped rhinestones and a glitter french about a month ago. To see that post, click here. I really enjoyed photographing this foil, because it looks very different in different light conditions, when I move my fingers, and it also reflects the color of the surroundings. For instance my top and the sky. And because it looks even more "super holographic" on the photos. It was surprisingly easy and quick to apply the foil. I just followed KKCenterHk's video tutorial. First I'll show you how I applied the foil, and then the rest of the photos. Feel free to scroll down to the photos if you want to :-) The photos really look very different.


N.NAIL Shiny Silver Nail Foil Transfer [NNAIL-E24] and glue:

N.NAIL Shiny Silver Nail Foil Transfer [NNAIL-E24], glue

How to use nail foil step by step:


1 Apply base coat

2 Apply silver nail polish (the same color as your foil), and let it dry

3 Cut one piece of foil for each nail

4 Apply glue (I used an orange stick to remove excess glue, but that was probably not necessary.)

5 Wait until the glue has changed from white to transparent.

6 Put a piece of nail foil over a nail, and carefully use a Q- Tip to make the foil stick to the nail.

7 When the foil is no longer attached to the plastic, carefully lift it

8 Clean the foil from your cuticles with a flat brush dipped in acetone or nail polish remover. (It is much faster to remove foil than nail polish)


Top coat:


None of my top coats worked, so all these photos are taken before top coat. But I've read that it's possible to use Picture Polish Revolution as top coat over foil. Thank you More Nail Polish for finding out, and thank you Neglelakkmani for spreading the news to me! :-) I'll try Revolution next time. If you want the foil to last more than a few hours, you need a top coat. I've also heard that water based top coats can be used. Have you found a top coat for nail foil?

More photos:


Light source: LED lamp


I've used the foil like this twice. I really like it, although it looks a bit wrinkly. I also tried to use it for stamping. But the glue didn't transfer well to the stamper. Next time I think I'll try to use a tiny brush to put glue on areas where I want foil. If you want good "foil nail art ideas", Robin Moses has several YouTube tutorials where she used nail foil.


The name of this nail foil & direct link to where you can buy it:

N.NAIL Shiny Silver Nail Foil Transfer [NNAIL-E24]

It's possible to buy only foil or foil and glue. If you want to buy something from KKCenterHk, the coupon code Nailphotos by Lani will give you a 10 % discount. (You can also find my coupon code on the right side)

The KKCenterHk video:

I think this is the same video that you can find online on the page where you can buy the foil. The video shows how to apply nail foil.


Thank you KKCenterHk for giving me this beautiful nail foil set!!! :-)


Lani