Hello everyone!

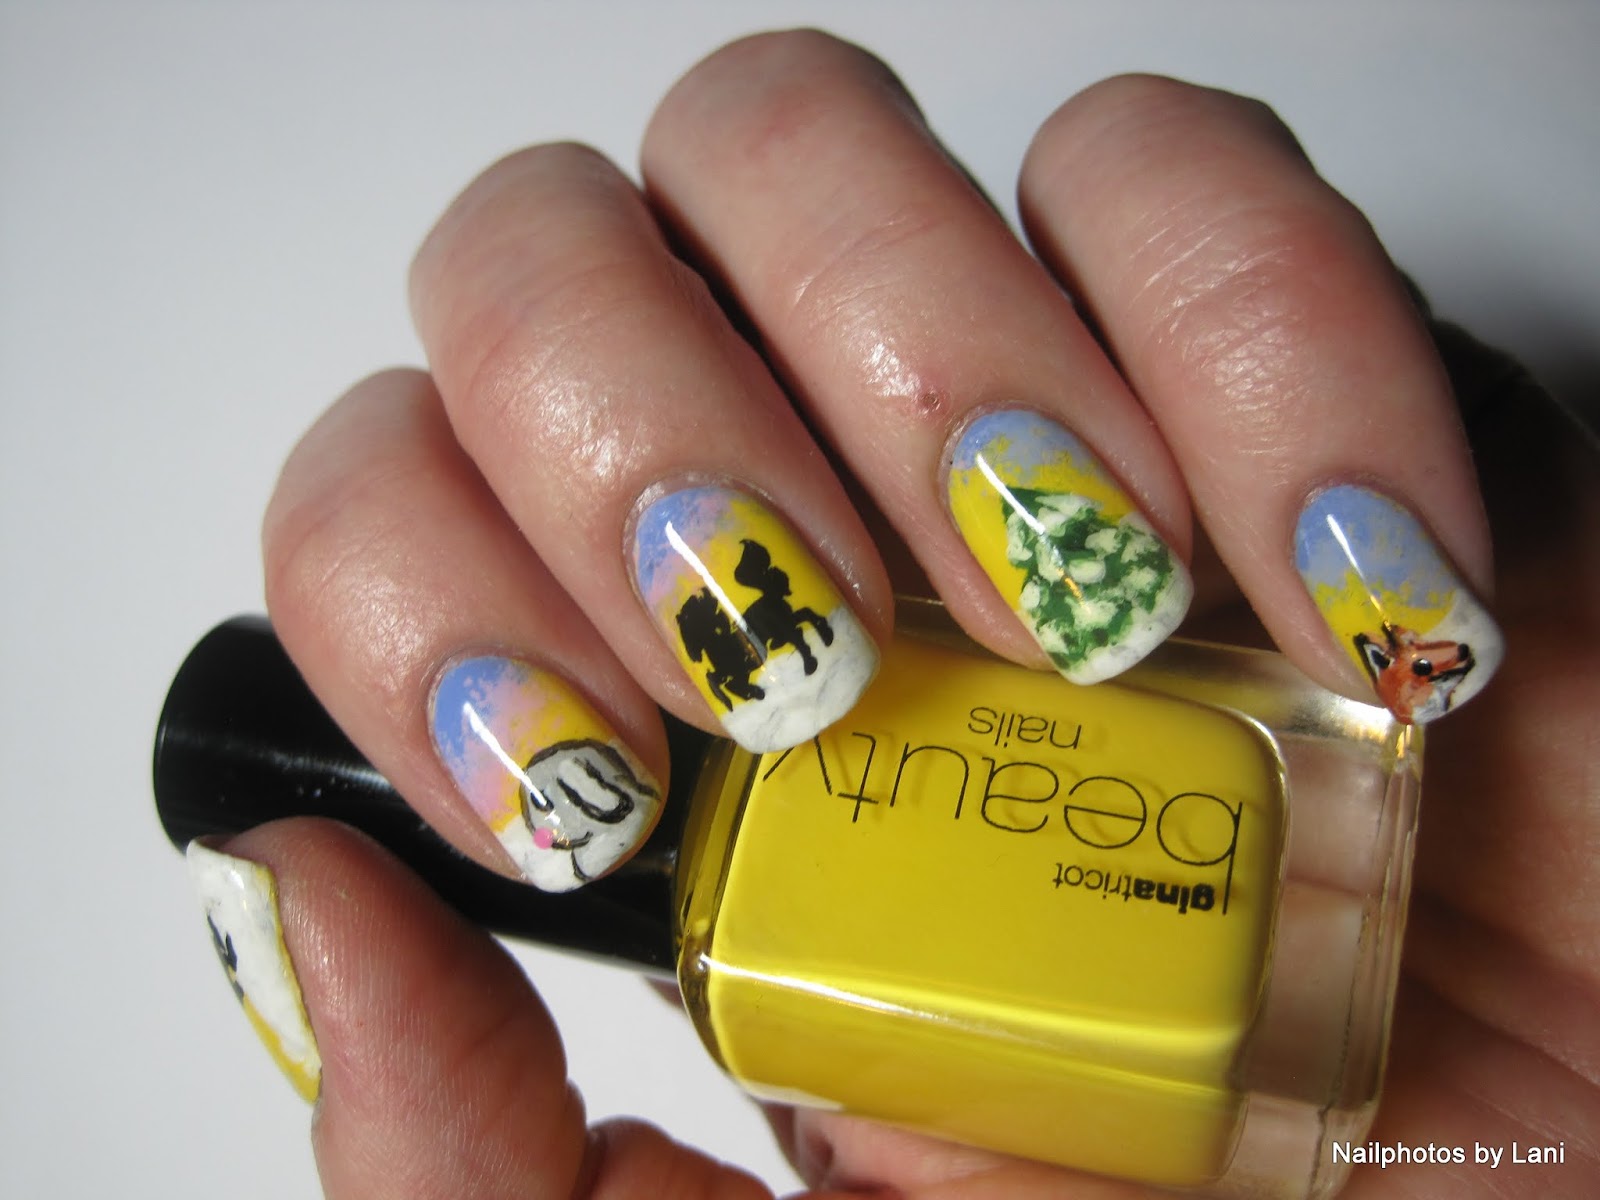
"Tone on tone stamping" was the challenge in Adventures In Stamping (AIS) on Sunday two weeks ago, so you might have seen one of the photos on facebook and G+. I was thinking about which color to choose until the last minute. I wanted to try Lime Crime: Pastelchio, so I chose green. And because the challenge was "tone on tone", I could only use different shades of green. I also wanted to try my new stamping plate from MoYou London. It's plate 01 from the Suki Collection. But the tiger head on the thumb is from the Chinese plate that you saw in my Yellow Zebra blog post. I used the stamping decal technique to fill in the stamped images with acrylic paint. This is not perfect, but it's the first time I'm trying this technique. Sadly the base color looks yellow on my PC screen. It looks much better in real life. I used green base color, green stamping polish, and acrylic paint in dark green, green, and green mixed with white to make the gradient and shadows of the tiger pattern. If I should do this again, I would have mixed yellow, white and green for the lightest areas.
After you've seen more photos of this manicure, I'll tell about the stamping decal technique and the tutorials I learned from, and show photos of how I did this.


THE STAMPING DECAL TECHNIQUE:
I learned the stamping decal technique from Messy Mansion (to see it, click here) and from the YouTube tutorial below that is made by crazypolishes:
The video shows how to do it on a flat surface where you apply clear polish, transfer the image onto the clear polish, and then fill in with colors, after it's dry carefully pick up the image, and put it on the nail, and use top coat to make it stick. But in Messy Mansion's picture tutorial, you fill in the image directly on the stamper.
HOW I MADE THIS MANICURE AND WHAT I USED:
I've used both tutorials. I started doing it as shown in the video, but struggled to transfer a good tiger face image with my stamper, so I wanted to try doing it on the stamper. But because I wanted a mirror image, I just put clear polish on the image on the stamper, waited until it was dry, and carefully loosened it from the stamper, so that I could paint the other side of the image. This is the first time I'm trying the stamping decal technique to fill in stamping images with paint. So I learned as I did it. Next time I'll leave more space for the base color.


Here you see the test stamping to choose the right stamping color to go with the base color. In the frames you can see the stamping decals. Some are fails, some are done, and some are half done. I didn't include my palette, but the "palette knife", small round brush in the glass of water, and the acrylic craft paint.
 |
| Trying to make stamping decals |

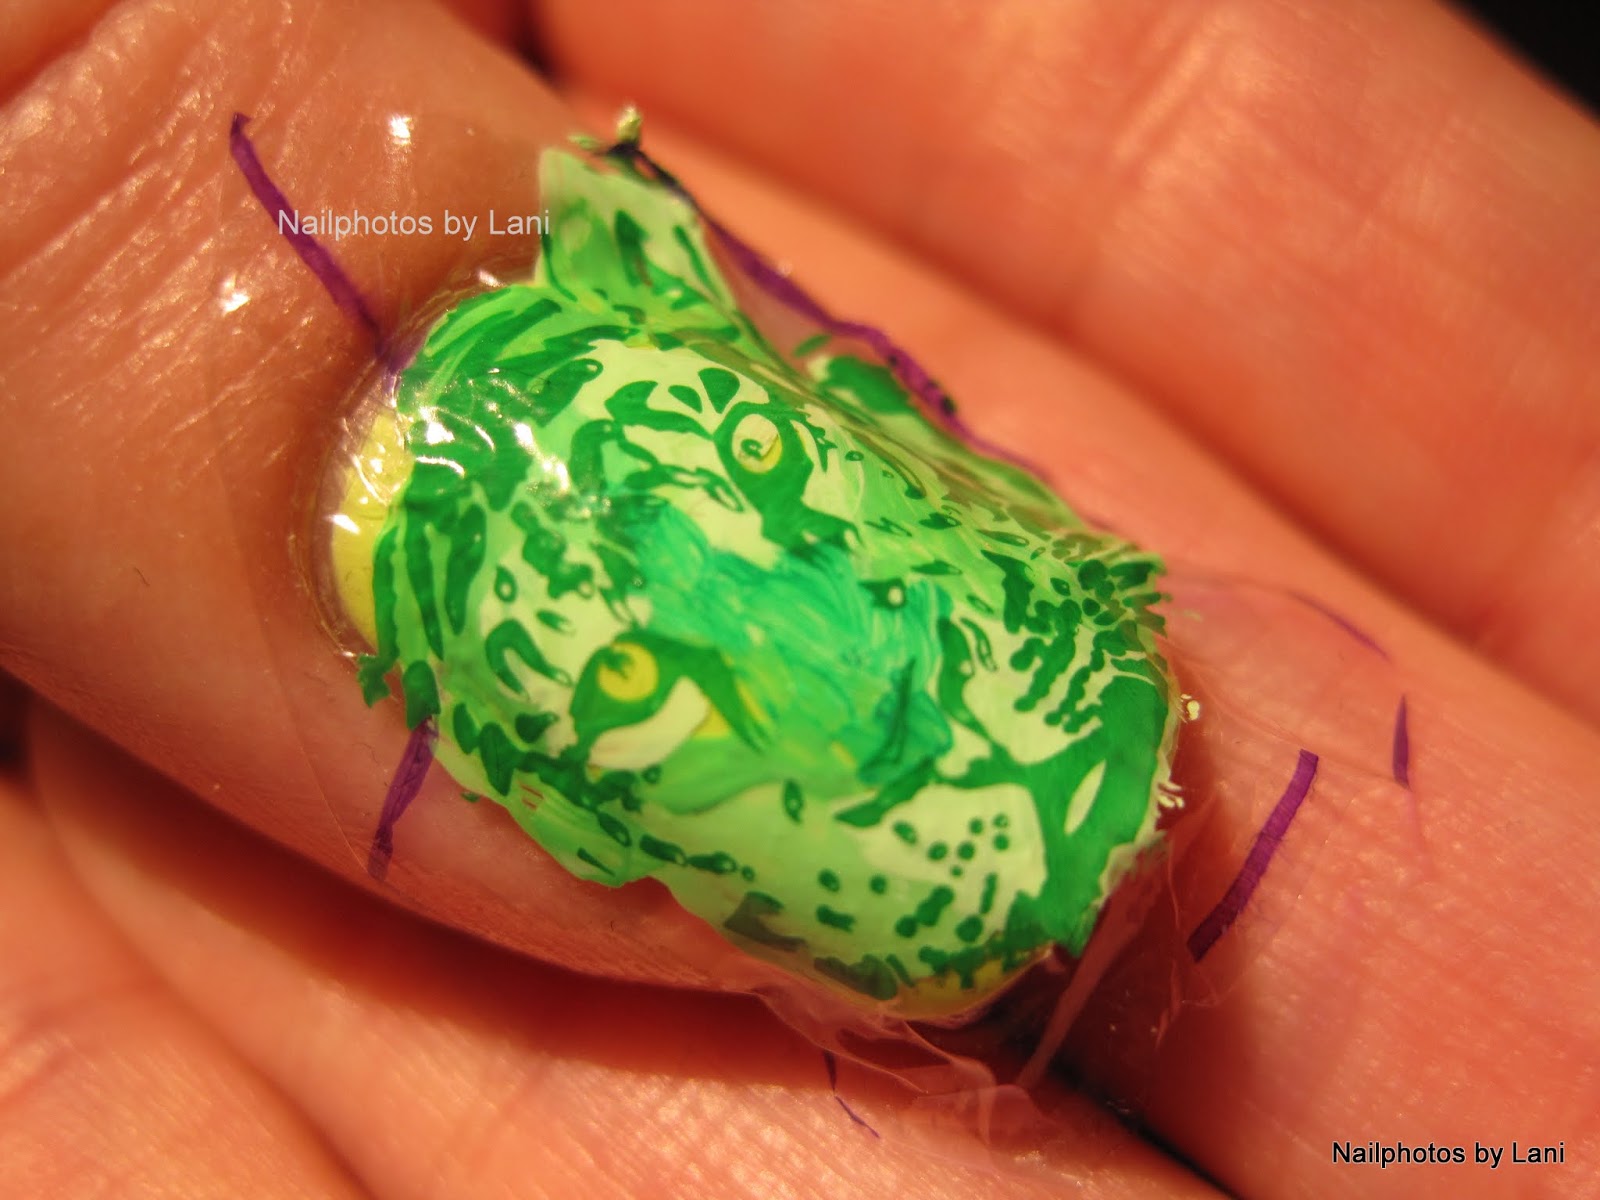


It was strange and fun to see how the top coat kind of made the stamping decal melt (although I had seen it in the video). I cut the decals more, after the part of the image that was outside one of the nails curled, and I had to work very fast to prevent it from ruining the nail art. And I felt a little stupid because I hadn't cut the pen marks off.
I got some bubbles and imperfections, but I hope that will be better next time. I don't know, but maybe the acrylic paint wasn't dry enough, or maybe I applied too much top coat. What do you think?
I had to add a second coat of Seche Vite.

LIME CRIME: PASTELCHIO
I have taken photos of Pastelchio on it's own, but strangely the photos looked very pale on the screen, so I have to do that another day, after checking if the color on my camera or on the screen is correct. I just want to say that it's a beautiful pastel neon green cream that dries matte. I liked it better with top coat. I hope it doesn't look too yellow on your screen. Lime Crime is not tested on animals. I liked this color very much, and regret that I only bought this one. Do you have any Lime Crime polishes to recommend?

The other challenge I had, was that my pinkie nail broke. I tried to stop a 1,5 liter bottle from falling, and the nail broke. I fixed it with super glue, and the tip of my nail was still there the next day. The blood disappeared over night, and it looked pretty good that morning, but it sure hurt during cleanup.

And last but not least, yesterday, when I was writing this, I spilled Pepsi Max over the PC!!! There was only a little left in the glass. So I thought it might be destiny telling me that I need a new screen that is color correct. But after lying upside down on a towel all night, my PC is back from the dead. I must admit that I was scared that it would explode or something when I turned it on, and had to check if that was a possibility before I even tried. So now I feel that I've got a gift, and I understand how much it means to me.

Lani