Showing posts with label stamping. Show all posts

Friday, March 20, 2015

Happy International Day of Happiness!


I started my day watching a solar eclipse, so why shouldn't my nails be smiling? I only wish I were further north! Did you see it too? If you're not smiling, do something nice for yourself, and turn to happy! :-)☺:-D


I started with white nails, and stamped the smileys with Bundle Monster BM-304 and Mundo de Uñas #2 Black, and my new Creative Shop stamper that worked from the start.

I used the leadlight technique and lots of sheer polish. I finally bought some polishes for leadlighting. What I didn't think about was that the different polishes didn't have the same pigmentation. So I had to apply two coats of some colors or mix some of the colors. It might have looked better if I only used one brand...

Sheer polish used:

Ellagee: Cadium Glass - yellow
El Corazon, Aquarelle tints: #07 - red
Dance Legend, top coat aquarelle collection: Chagall - purple
Dance Legend, top coat aquarelle collection: Levitan - green
Nailstation: Whisper - orange with orange glitter
OPI: Houston We Have a Purple -blue toned red


The OPI, the green and the purple were very pigmented. The yellow was as I expected, but I needed two coats. In comparison the other two looked more pastel, even after 2 coats.

Levitan makes me think about the movie Leviathan. Have you seen it? It kind of made me feel that there's no point fighting for something...

I've not been very active here and on G+, twitter and facebook lately, but I'm trying to share photos on Instagram. If you are on Instagram, I would love to follow you. I'm nailphotosbylani. If I don't already follow you, please write your IG name in the comments section.

Can you tell that the photos of the plate are inspired by the solar eclipse? LOL!


Happy polishing!

Lani

Monday, February 2, 2015

Lovebirds - Valentine's Day Nails #11 - stamping nail art


Happy Groundhog Day!


I made this neon pink lovebird mani today. I stamped the black images on and added three rhinestone hearts. I used a marshmallow stamper to shrink the image on my index finger. I used a Konad stamper and added more black with a brush on the ring finger. On my screen this looks a little orange, but I hope it looks pink on yours.


Products used:

Ruby Kisses: RHDP01 Hot Pink Obsession (neon pink)
MoYou London: Tropical Collection 06 (lovebirds, hearts)
MoYou London: Explorer Collection 23 (flying bird)
MoYou London: Heartshaped rhinestones
Mundo de Uñas: 2 Black (stamping polish)
XL marshmallow stamper (shrinking)
Konad stamper

The MoYou plates are available in this size and XL size. So remember to measure your nails before buying them.

I really like these bird images, but I wish they were smaller. Luckily I can use this image, but on Tropical 06 most of the images of the birds are to wide for my small nails, and it was difficult to shrink an image without distorting it. (This is not a problem for most of you, because most of you have bigger nails than me.)

But if you are reading MoYou, please make the important part of each image small, and if you add a leaf or something, please include the whole leaf, and keep everything very detailed. That way it's easier for both us with small nails and those with bigger nailbeds to use each image successfully.


I had planned to make a Groundhog day mani, but let's hope I'll do that next year... Did you see the movie? It's very romantic, so it would be perfect for a V- day mani.

Lani

Tuesday, January 13, 2015

NPL Daisies - Ruby Wing: Eternal - stamping over color changing polish


Hello everyone!


I had fun with color changing polish again. This time it was Ruby Wing: Eternal, which is made with SolarActive® Technology. It looks turquoise in the shade/ inside and outside/ in the sun it looks dark green- grey. What surprised me, is that the white stamped flowers also changed from white to light pink. I bought Eternal and Crowd Surf in May 2013. They are both from the 2013 Summer Collection, and are still available and cruelty- free (source (look for Forsythe Cosmetic Group)).


I made this in June 2014 when the theme was "Daisies" in the G+ group Nail Polish Lovers. It was too difficult to paint them, and this image was the closest I could find. Two plates from MoYou London's Pro collection have this image: 08 (regular size) and 10 (XL). I don't remember, but I think I used the biggest here. To fix some flowers, I added a little white. And I think that's why the color of the flowers looks uneven in the sun. But now that I've learned that, I'll make sure that the stamping is good next time.


I'm very far behind with my blogging, so I still haven't even showd you all the nail art from 2014, and the polish I was wearing in 2013... not to mention the haul posts the last two years...


Inside:


Sun:


Back inside:


What do you think about this? Have you tried color changing polish?


Lani

Monday, December 29, 2014

My Dogsled is a Hybrid - My Christmas Day Nails - stamping nail art


Hello everyone!


This mani is inspired by the name of this green OPI polish from the fall/ winter 2014 Nordic Collection: My Dogsled is a Hybrid. 

I think it's the best nail polish name ever!!! :-) A hybrid sled would be nice if the dogs were tired. But how can it work? Do you turn it around and it drags the dogs? Or do you put the dogs in the sled and drive it with a gasoline motor? A battery would not last very long in the cold... Or as my boyfriend suggested, the driver would have to drag the dogs and the sled...


This is what I was wearing on Christmas Day. This manicure kind of evolved, so I'll show you the pictures in chronological order.


Step 1. Paint nails with OPI: My Dogsled is a Hybrid

When I noticed that the sun was actually shining, I ran outside to take some photos.

Not sure why my index nail looks strange.


Step 2. Stamp the trees, dogs and birds on. 

Then I hurried out before the sun went down, and I went for a long walk, as is our family tradition on Christmas Day.

winter sunset

It was -14°C outside, and the snow had turned into chrystals some places. You can see a parts of some chrystals on the photo below.

 This nail polish name also brings back a lot of memories from my childhood...


...I remember the Winter and Easter Vacations before I was old enough to go cross country skiing, when my dad used to put me in a pulk, and let his dog drag it. The dog ran like crazy, and never learned that the pulk was bigger than him... so it got stuck between trees, and turned upside down with baby me face down in the snow...


 ... and a few years later...

...our neighbours came with us. Our parents probably wanted to walk fast, so I was allowed to be in the pulk with the other children. We lay there, all four of us, in a pulk made for 1 or 2 kids, but we talked and laughed and had fun. It's one of the happiest moments from my childhood...


...and when I was about 12 years old...

...I took a course in dog sled driving. We only used 3 dogs, and it's a long time ago, so sadly I don't remember enough to do it today, but it gave me enough reasons to buy this bottle because of it's name, even though I had just bought the "little NORTHIES mini nail lacquers" set, and I think I alredy have some similar green polishes... You might remember them from my Summer Vacation haul post.


Here my skin looks pink because of the cold. I couldn't wear gloves, because they would have made my nails look hairy... LOL

Yes, I know it's upside down


Step 3. Add "snow". 

Sadly, I didn't look at the pictures until I came home. So it was then I added the snow on "the ground". I just used the brush from OPI: My Boyfriend Scales Walls.

Ott- Lite


Step 4. Add glitter. 

It was so cold outside that it looked like someone had sprinkled tiny diamonds everywhere. That's why I felt that the mani needed some glitter.

LED lamp

I put a few drops of OPI: My Voice is a Little Norse on a palette and used a tiny brush to apply it. It's from the Nordic Collection too.

LED lamp


Products used:

OPI: My Dogsled is a Hybrid - green creme
OPI: My Boyfriend Scales Walls - white creme
OPI: My Voice is a Little Norse - silver holographic glitter

Stamping plates:
Dashica Beauty Shop: Infinity Nails 75 - trees
MoYou London: Explorer Collection 23 - birds
MoYou London: Princess Collection 03 - dogs

Stamping polish:
Konad SN White
Konad SN Black

Seche Vite


As you see, exept for the stamping, I only used OPI. I don't have a sled image plate. LOL! So I had to leave the actual dog sled outside the design. Any suggestions?


Here's one photo taken in daylight, where you can see that it's shiny:
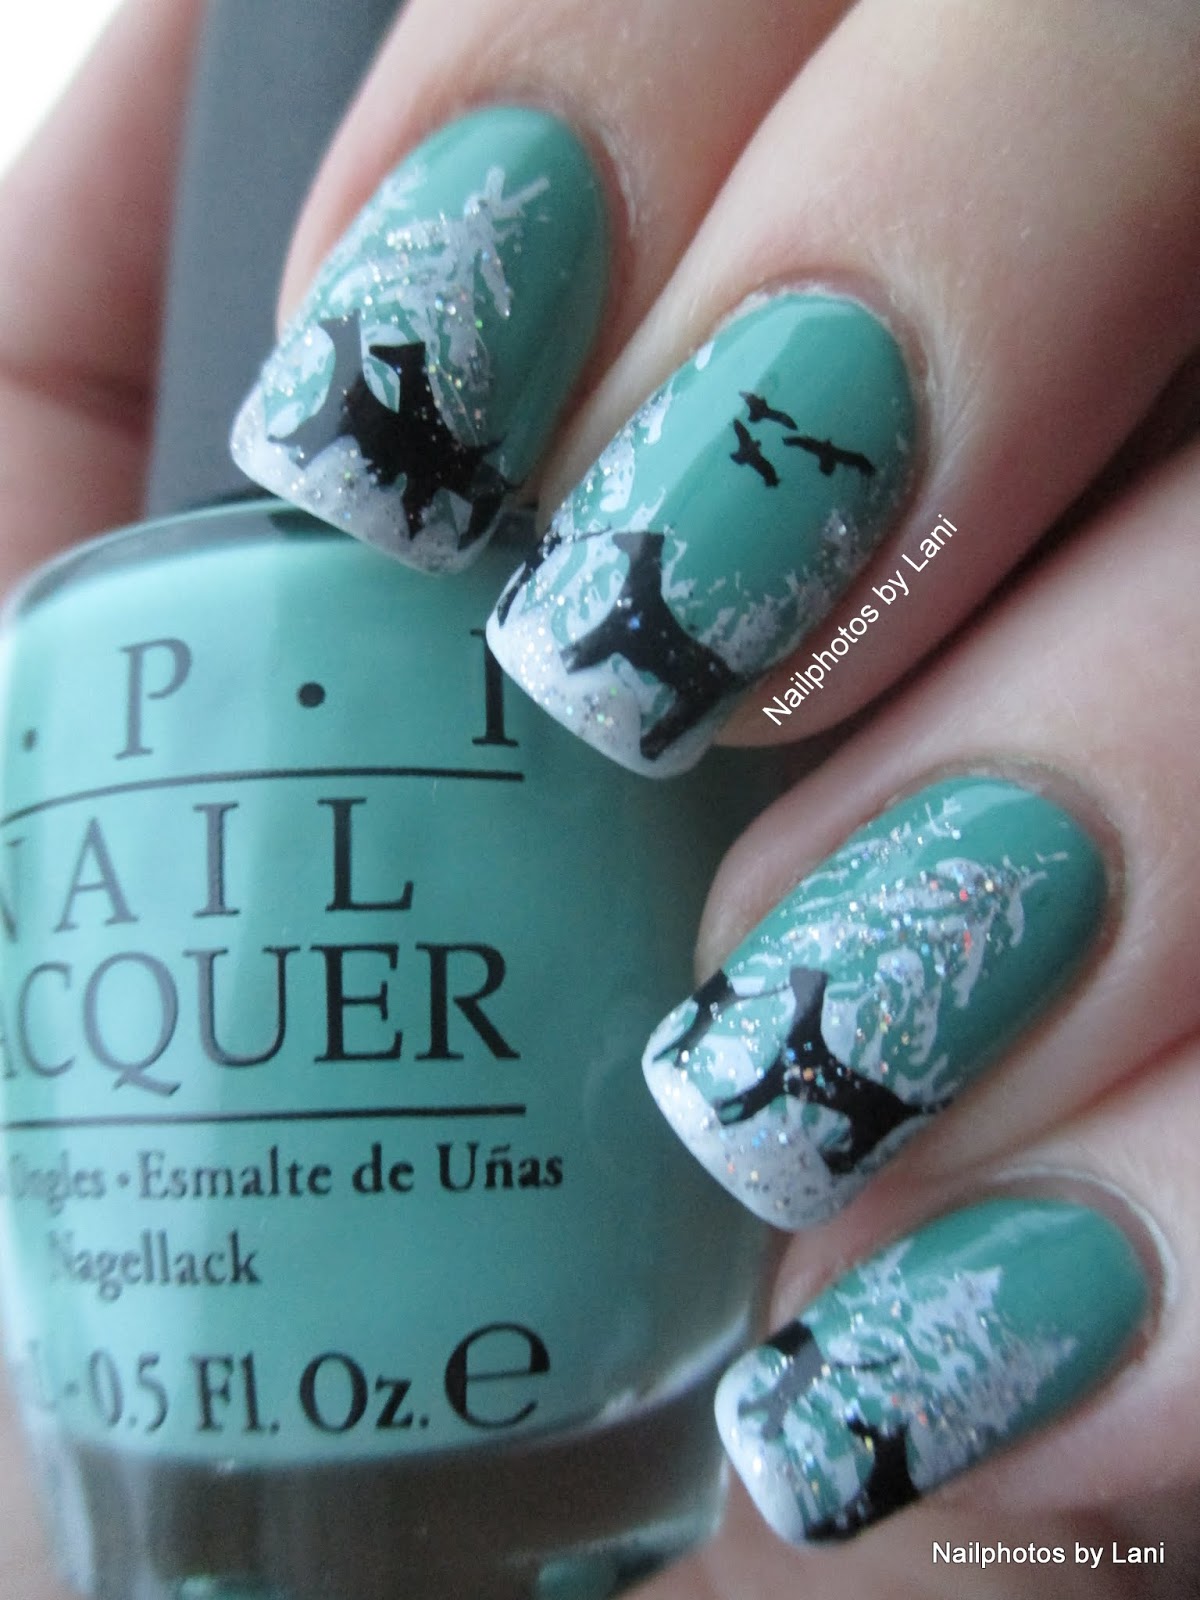
winter daylight


What do you think? Does this nail polish name give you good memories too? Any dog sled drivers among you?


Lani

Sunday, November 16, 2014

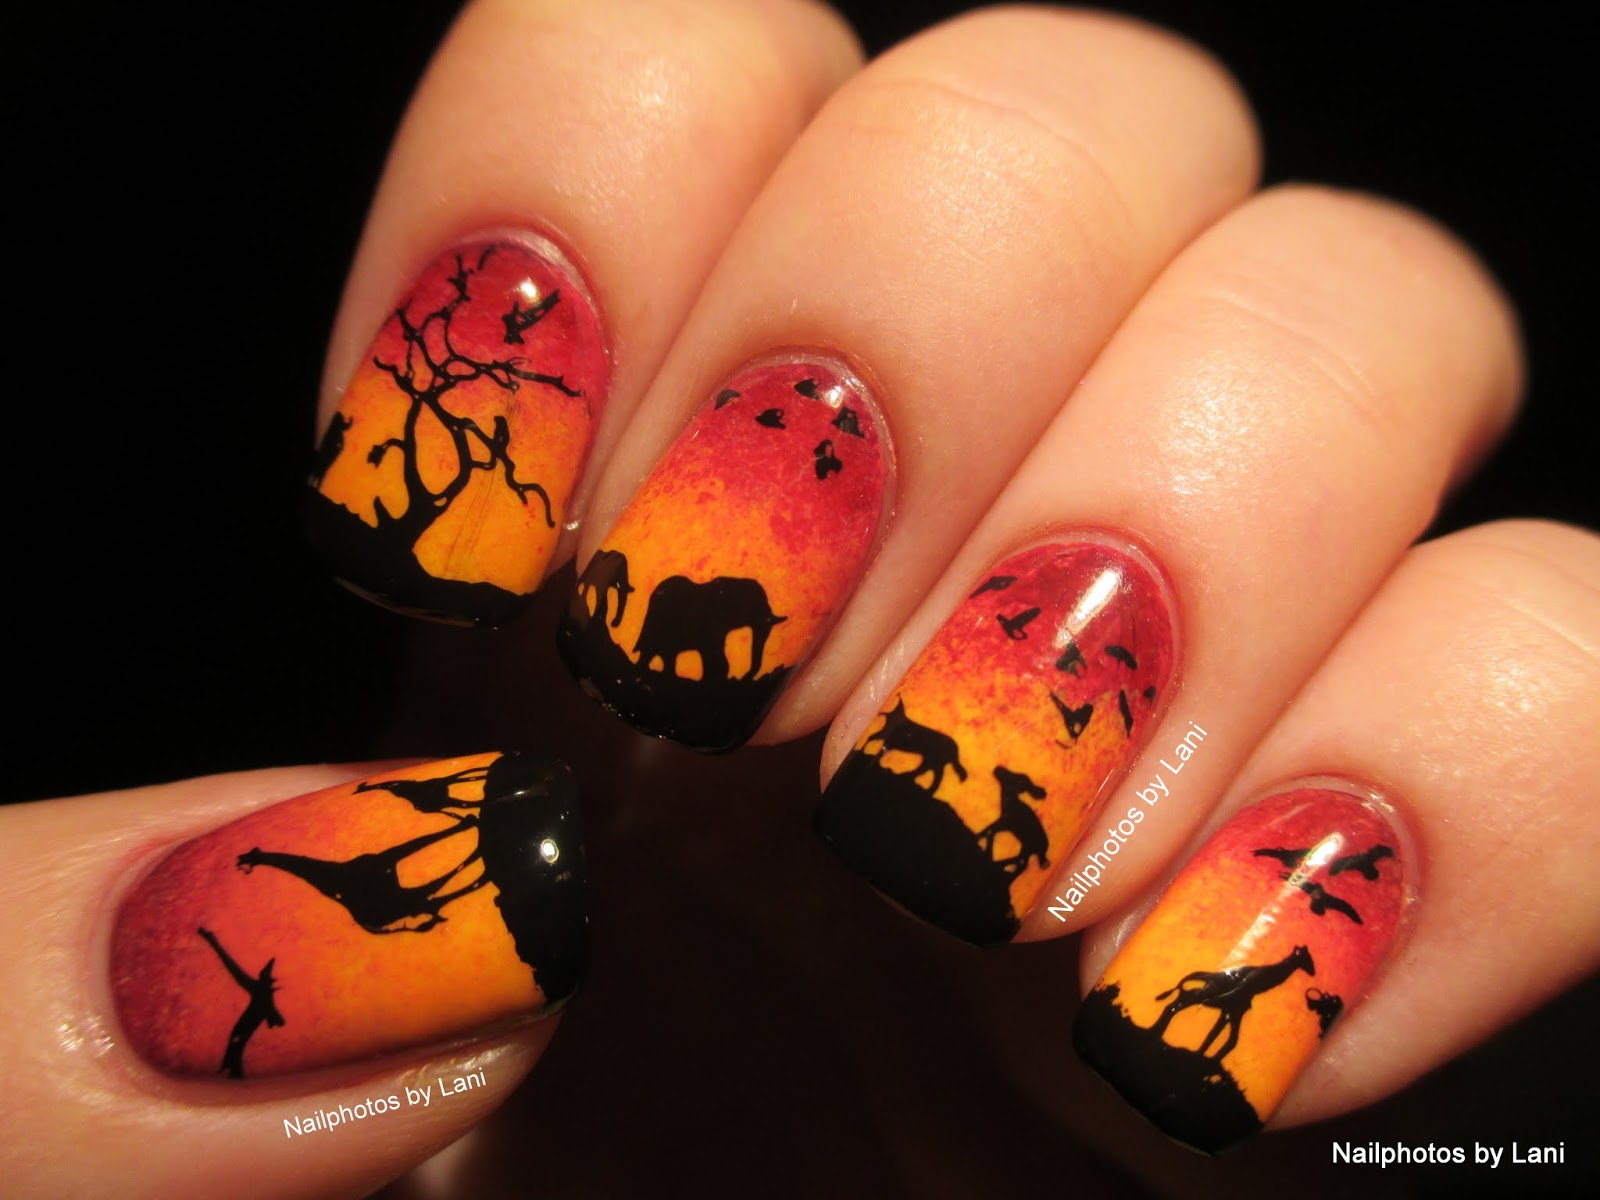
#52WPNMC - Wild Animals - African Sunset/ Sunrise Nails - stamping nail art


Hello everyone!


I had wanted to make African sunset/ sunrise nails for a long time, but when "wild animals" and "wildlife" were the challenges in two facebook groups, I finally made this today. All the pictures are taken inside, because we only have a few hours of winter daylight this time of the year.
Edited: I've added one photo taken in daylight, where you can see how shiny this mani is:

Daylight


What I did:

I was already wearing a coral creme nail polish called Coral Reef by Mineral Fusion (3 coats + Seche Vite.) First I made a red- orange gradient, then I stamped the African animals and the tree on. I used two MoYou London stamping plates; I used #04 from the Kitty Collection for the big giraffe on the thumb. All the other images are from Explorer Collection #23. (#23 is perfect for us with small nail beds, but they have a XL plate with bigger images.) I also used the black Konad stamping polish to paint the "Savannah" tips.


Products used: 

Gradient:
Ruby Kisses: Cheesum (orange)
Mineral Fusion: Coral Reef (coral)
Gina Tricot: #146 The red (red)
Gina Tricot: #7 Zinfandel (dark red)
a stamping plate as palette
a dotting tool to mix the colors
a piece of a car sponge to make the gradient

Stamping:
MoYou London: Explorer Collection #23 (plate for small nail beds. They have a XL size too)
MoYou London: Kitty Collection #04 (big giraffe)
Konad SP Black (stamping polish)
marshmallow XL stamper

To avoid problems, I used different top coats; HK Girl over the gradient, and Seche Vite after the stamping.

The index nail is broken again, so had to glue it and use silk wrap and resin.


Below you can see what the other 52 Week PICK N MIX Challenge participants made. This week we could make a yellow mani, wild animals nail art, or combine the two prompts.

Lani


Sunday, May 11, 2014

LIVE ♥ laugh ♥ love - fanbrush stripes & stamping nail art - pastels from Deborah Lippmann's "Spring Reveries" Collection - Valentine's Day nails #10


Hello everyone!

Stage 4


I started with pastel mint green nails. Then I used a fan brush to make stripes in pastels (yellow, lime green, blue and lavender). I used all the nail polishes from Deborah Lippmann's 2014 limited edition "Spring Reveries" Collection, except for the pastel orange. Instead I used Ruby Kisses: Lavender Dream, that I've showed you earlier.

I stamped with China Glaze: Adore, BM- 405 (text) and BM- H16 (flowers).
BM-405 is from Bundle Monster's 2013 "Create Your Own" Collection, and BM-H16 is from the 2013 Holiday Collection. But now it's possible to buy individual plates too.
Adore is from China Glaze's Romantique Collection from Spring 2009. Shades from that collecion are Messy Mansion's favorites for stamping, so I wanted to try it. I found this teal on eBay, and it worked very well for stamping.

This manicure kind of evolved, so there are different versions of it below.

Here you see the palette. I've fallen in love with these pastels. You'll find their names in the product list. I was very pleased with the result you see below,

Stage 1

but sadly I had to redo the ring finger nail, so this is what it looked like before the stamping:

Stage 2

More photos of the "LIVE ♥ laugh ♥ love & 4 flowers" version:

Stage 4

Stage 4

I made this manicure for a AIS Sunday challenge in March, when I was very happy to see these spring flowers.

Stage 3


This version is with only two flowers.

Stage 3


Then I accidentally removed too much when I tried to use tape to do the clean up. So I applied the DL shimmer (La Vie En Rose) from the same collection on some of the nails. And then I filled in the flowers with the shimmer, but it didn't look good, so I took the flowers off. (No pictures of stage 5)

The last version is with the text on all nails and shimmer on all nails except the middle finger nail:

Stage 6

Stage 6


Products used:

Deborah Lippmann: Flowers In Her Hair (pastel mint green creme)
Deborah Lippmann: Build Me Up Buttercup (pastel yellow creme)
Deborah Lippmann: Spring Buds (pastel lime green creme)
Deborah Lippmann: Blue Orchid (pastel blue creme)
Deborah Lippmann: La Vie En Rose (sheer nude/ pastel pink with copper shimmer)

-all from Deborah Lippmann's "Spring Reveries" Collection from spring 2014

Ruby Kisses: Lavender Dream (lavender creme)

A fan brush
Palette (the back side of a Messy Mansion plate) 
XL stamper (black with white soft and small red hard stamper)
Stamping polish: China Glaze: Adore (teal metallic)
Stamping plates: BM- 405 (LIVE ♥ laugh ♥ love) and BM- H16 (flowers)
Lint roller to clean the stamper
Scotch tape to remove my mistakes/ for clean up, (which minimised the need for clean up with a brush dipped in acetone)

Duri Rejuvacote as base coat and Seche Vite top coat.


As I've mentioned before Deborah Lippmann products are not tested on animals.

Stage 6

I haven't swatched the Spring Reveries Collection, but I've used Blue Orchid for nail art. Just click here to see it.


Lani

Monday, April 21, 2014

Easter chicks (free range) & feathers. Stamping & water decals. TPC April


Happy Easter!


"Easter" is the nail art theme in some of the groups I'm in, and blue and yellow are two of the colors for Tripolish April. So this is also for the Tri Polish Challenge, and therefor you will find thumbnails at the end of this post.

Wednesday, March 12, 2014

GOT Polish Challenge: PURPLE. Old and newer blurple- aubergine- purple with silver Pueen 49 stamping


Hello everyone!


I wanted to use my vintage Estée Lauder polish and some other purple- aubergine- blurple 1,5-  a few years old polishes. With the stamping the difference between the polishes doesn't show much, but luckily it showed better on the photos. :-)


I'm not sure how old the Estée Lauder polish is, but probably 10- 15 years old. The glue is still where the name probably used to be... There's not much left in the bottle, and I had to use a little thinner. I would describe the color as a dark purple with a little grey and brown mixed in, and a lot of gold/ bronze shimmer. You can see it on my middle finger. I have showed this bottle before when I showed my tiny vintage nail polish collection. You can find it here.


I've written a list below, with all the products I used, and which nail polish you can see on which finger.

Gina Tricot, Nfu- Oh, Estée Lauder, OPI, Deborah Lippmann, China Glaze, Pueen 49


Used:

Duri Rejuvacote -base coat
Gina Tricot: #102 Cabaret - thumb
Nfu- Oh: #51 -index finger
Estée Lauder: no name - middle finger
OPI: Every Month is Oktoberfest - ring finger
Deborah Lippmann: Let's Go Crazy - pinkie
Stamping plate: Pueen 49
China Glaze: Awaken -silver
XL stamper
Lint roller - to remove polish from the stamper
Scotch tape - to remove polish from the skin
Brush dipped in acetone - to clean cuticles


Sadly I have not showed swatches of these before, other than Nfu- Oh #51 over a blue polish. You can see it here. I've used Nfu- Oh #51 several times for nail art. And the OPI has been used for layering here and here.

I tried to remove the stamped polish from my skin with scotch tape, as seen on Wacky Laki. Removing stamped polish from the skin with tape, and removing it from the stamper with a lint roller has saved me a lot of time.

Below you can see the other GOT nails. I was too late to add my thumbnail.

Lani