Sunday, December 30, 2012

Giant panda and giant panda cub water decals and videos


Hello everyone!

Giant panda eating bamboo water decals & Giant panda cub water decals


Bai Yun's sixth cub was born July 29, 2012, and is 5 months old this weekend. His name is Xiao Liwu, which means Little Gift. I have been following the development of Bai Yun's giant panda boy in San Diego Zoo online, and that's why I chose the Giant Panda and Giant Panda Cub water decals from KKCenterHk. The other reason was that I found it difficult to paint pandas on my tiny nails. And to my surprise pandas were popular in the Tokyo Nail Expo 2012 Nail Art Contest. Today I will show you the water decals, and some videos of "my" cute giant pandas. And you will find links to where you can buy the panda water decals, and my 10% coupon code. :-)

WATER DECALS:  GIANT PANDA and GIANT PANDA CUB

Giant panda eating bamboo water decals
Giant panda cub water decals


Giant panda cub water decals (black and white)

Giant panda eating bamboo water decals (black and clear)

Me and my friend started to watch the cub grow on the PandaCam from San Diego Zoo. But soon we found summary- videos on YouTube. In the beginning he was a tiny little pink baby, but now he has got his typical panda colors, his eyes and ears are fully open, and he is getting quite big. Then he started crawling and managed to climb into the den after falling out. And now he has started climbing trees and tasting bamboo.

Giant panda cub water decals

Giant panda eating bamboo water decals

Giant panda cub water decals
Giant panda eating bamboo water decals, with bite marks

Giant panda cub water decals

Giant panda eating bamboo water decal
Giant panda cub water decals

Giant panda eating bamboo water decals

Here's the closest I could come to a panda:

Giant panda eating bamboo water decals

Giant panda eating bamboo water decals

Giant panda eating bamboo water decals


How I did this:


Black and white giant panda cub water decals

Black and clear giant panda eating bamboo water decals 

Using water decals is easy, but as with everything else, the first time you have to know what to do. Emily (from Very Emily) has made a very good "How to" tutorial. Just click here

I followed her tutorial, but found out that it was easier to use tweezers. If I just dropped the water decal in the warm water, the water decal separated from the paper, and I struggled to fish it up with my fingers and apply it the right way on the nail. I also found out that I had to work fast when moving the water decal around on the nail, to get it where I wanted it. The first time I managed to tear it, but I think that happened because I didn't put enough water on my nail before trying to apply the water decal.

Giant panda eating bamboo water decals & panda cub water decals


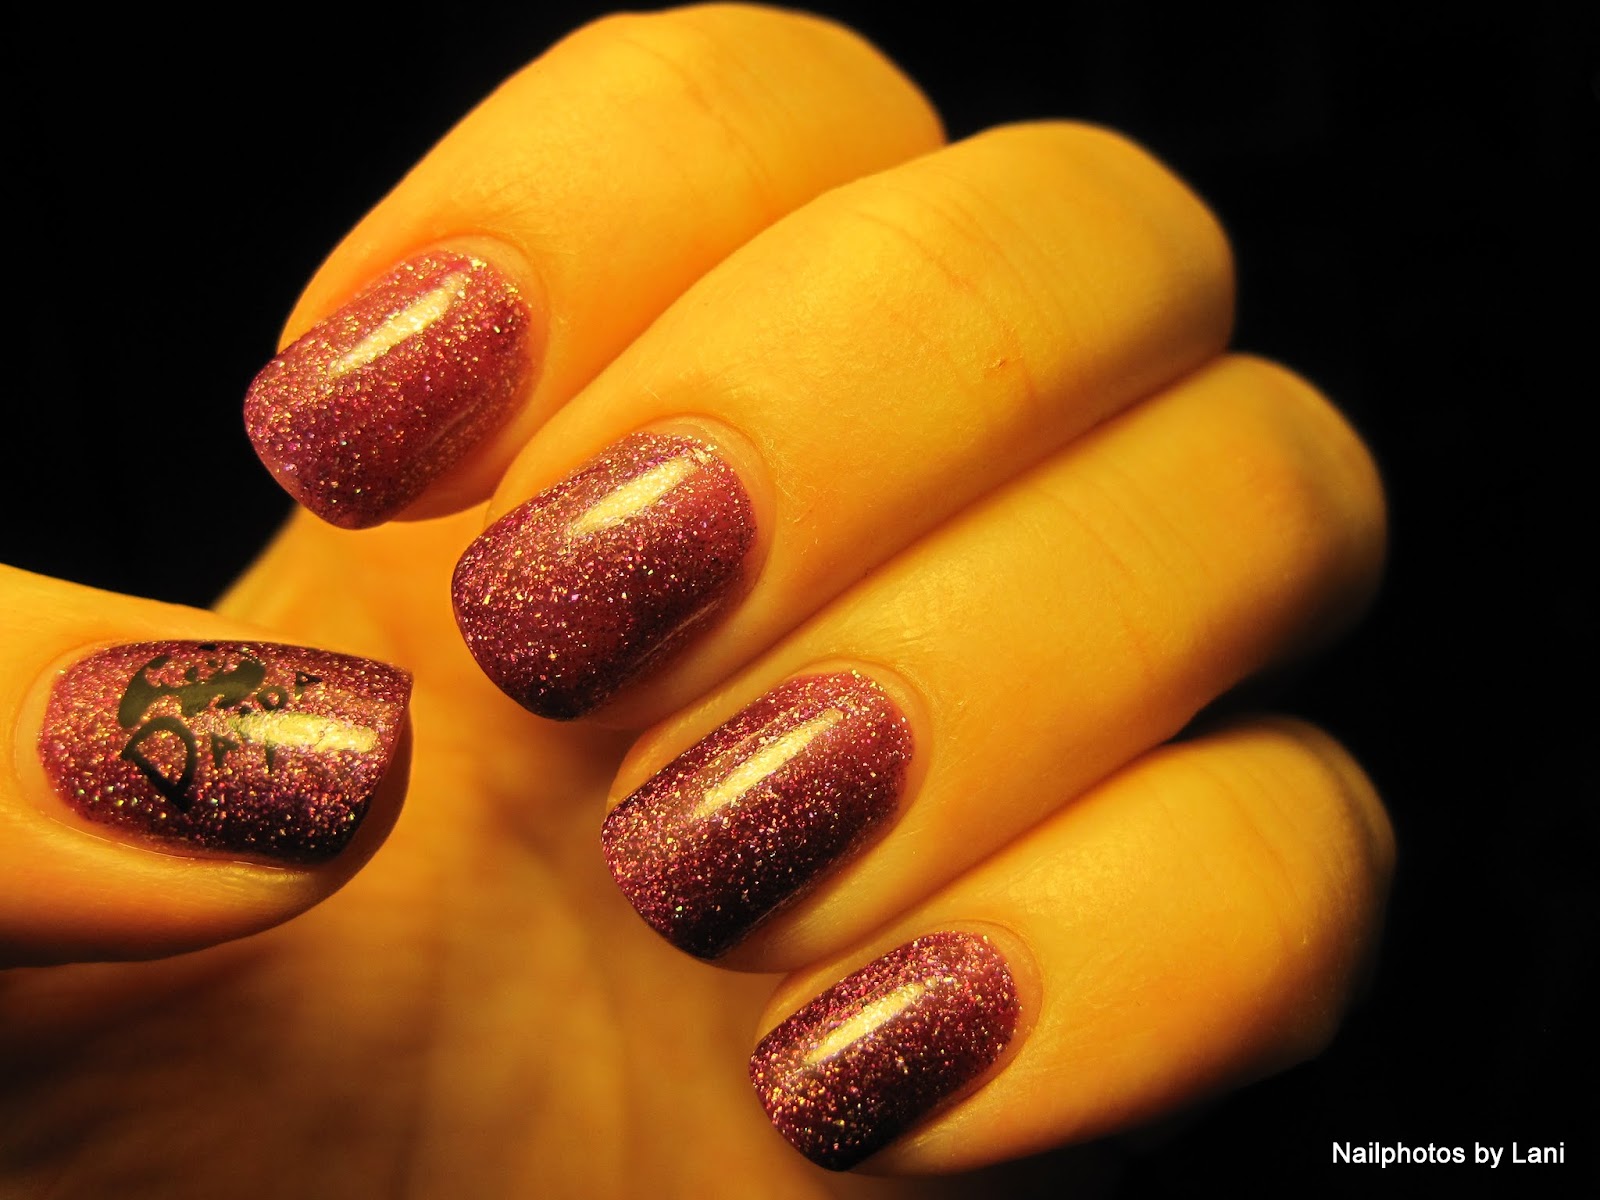
It is also important to find out which color your water decal has, so that you can choose a good background color. I found out the hard way that only the cub was in black and white, as you see on my thumb below. If you experience that your water decal doesn't go with the nail polish you have chosen, make sure that you keep it wet, and carefully slide it back to it's wet paper. If you look at the picture above, the water decals on the top row are black and clear, and the ones on the second row are white and black. 

The images are in different sizes, and you can choose which direction you want them to face on your nails. So, if you want to, your hands can look like mirror image of each other.

Giant panda eating bamboo water decal


Giant panda cub water decals

Giant panda cub water decals
I have small nails, but if you have bigger nails you will probably have room for some bamboo stamping or you can draw a nice background.

What I used:


Base- and top coat
Purple scattered holographic nail polish
White cream nail polish
Panda water decals
Scissors
Egg glass
Lukewarm water
Tweezers
Tissue paper

Giant panda eating bamboo water decals

Giant panda cub water decals

Links to giant panda water decals:


Giant panda eating bamboo/ on my left hand: http://www.kkcenterhk.com/Nail-Water-Decals-Animals/c106_147/p9338/N.NAIL-Kai-Kai/Jia-Jia/Panda/Bamboo-Leaves-Eating-Water-Decals/product_info.html
Giant panda cub/ on my right hand: http://www.kkcenterhk.com/Nail-Water-Decals-Animals/c106_147/p5164/N.NAIL-Water-Decals-Nail-Art-Panda-WDD012/product_info.html


If you want to buy something from KKCenterHk, you will get 10% discount with my coupon code "Nailphotos by Lani" until January, 31st, 2014. I just got it renewed! :-)


Giant panda eating bamboo water decals & Giant panda cub water decals


PANDA VIDEOS


I have selected 7 videos for you:      (Edit: I added one new video today, January, 11th, 2013)                   


Here is one video where you see small parts of his veterinary exams and you can see his development the first 100 days:


Here are two videos made by DoxieMom19:

In the first one you can see the cub after 2.37 minutes, and soon thereafter his mother comes into the den.


His 16th veterinary exam:


Panda playtime:

This is the most resent video of the cub. It was shared by San Diego Zoo on facebook today. Look how big he is now!


His walking isn't perfect yet, but he already tries to climb: (Long video! -made by DoxieMom19)


Other giant panda toddlers (This video is also made by DoxieMom19) :


Panda Cub ( Xiao Liwu) debuts on Exhibit January, 9th, 2013: (- video by SDZoo (San Diego Zoo))


What I like with water decals is that it's a quick way to get nail art on my nails, and it looks professional. For me who am struggling to get nice lines when painting, and in addition have small nails and therefor little room for nail art, water decals are great.

I have tried to make panda nails twice before. Below you can see what I made for Polish Days Sentimental, but didn't think was good enough to show you.

Stamped and painted panda nail art
On the thumb and ring finger, I stamped using this stamping plate (SPPMB114) from KKCenterHK, and tried to fill in the bear image with panda colors.

Stamped and painted panda nail art

On the middle finger, I tried to copy the panda nail art by Thriszha on the top of this page.

Stamped and painted panda nail art

And here is a part of what I wrote for Polish Days Sentimental:

I chose to make panda nail art, because the giant panda birth this summer has made me sentimental on many levels. Every time I see the panda cub, it makes me happy and sentimental. And when I see how well his mother Bai Yun takes care of him. But also how the staff in San Diego Zoo has learned to handle the cub. Like when they found out that if they held a hand under his head, he would press his head down as if he liked to cuddle and feel the warmth from the hand, and this made the veterinary exams a much better experience for him. He seemed calm, and didn't vocalize. But also it makes me sentimental when countries cooperate and do positive things, instead of stupid conflicts and war, or not treat the animals or humans that live in the country with respect. In this case, the cub's birth is a result of China and the US working together. And although Bai Yun now has given birth to her sixth cub, it's actually very difficult to help pandas get pregnant, and to save the species. What's also nice is that San Diego Zoo is filming the den and showing it to us. The Panda Cam is live 24/7. It also makes me sentimental that animal lovers from all over the world are watching over him.

I wish you a positive and happy new year! And thank you KKCenterHk for giving me these cute panda water decals!

Lani

Saturday, December 29, 2012

My most photographed polish of 2012: OPI Diva of Geneva, part VI


Hello everyone!

(This blog looks best if you use Google Chrome)

OPI Diva of Geneva


Here are the last 16 photos of OPI Diva of Geneva from 2012. Earlier this year I couldn't reduce the amount of pictures of this nail polish to less than 70, but now I chose to remove a few of them. I thought about applying the polish once more today to make some snowy photos too. But instead of two more posts with 10 photos in each, I made this sixth and last post in this series bigger.

Thursday, December 27, 2012

My most photographed polish of 2012: OPI Diva of Geneva, part V


Hello everyone!

OPI Diva of Geneva


Here are 10 more photos of OPI Diva of Geneva. This is part five, and I hope you still want to see them. Tomorrow I hope to get time to show you something else.

Wednesday, December 26, 2012

My most photographed polish of 2012: OPI Diva of Geneva, part IV


Hello everyone!

OPI Diva of Geneva


You might have thought that I had showed you all my photos of OPI Diva of Geneva from 2012, but yesterday's post was just a little break! :-) So I hope you're ready for 10 more photos.

Tuesday, December 25, 2012

OPI Just Spotted The Lizard


Hello everyone!

(It seems like the blog looks best in Google Chrome)
OPI Just Spotted The Lizard, low light/ winter daylight right before sunset


I hope you are still having a nice Christmas holiday together with your loved ones! And I hope you who don't celebrate also have a nice time!

OPI Just Spotted The Lizard, sunset


Monday, December 24, 2012

My most photographed polish of 2012: OPI Diva of Geneva, part III


Merry Christmas everyone!

OPI Diva of Geneva


This is part III in my series of photos of OPI Diva of Geneva from 2012. So I have 10 photos for you today too:

Saturday, December 22, 2012

My most photographed polish of 2012: OPI Diva of Geneva, part II


Hello everyone!

OPI Diva of Geneva


This is part II in my series of photos of OPI Diva of Geneva, the nail polish that I have most photos of from 2012. I have already written about it in part I, so now I'll just show you the photos.

Friday, December 21, 2012

My most photographed polish of 2012: OPI Diva of Geneva, part I


Hello everyone!

OPI Diva of Geneva


Today I'm finally showing you the nail polish that I've got most pictures of from 2012. It was so difficult to choose which photos to use, that I never showed you OPI Diva of Geneva. Instead of one post with lots of photos, I'll show you 10 in each post. This is part I! :-)

Thursday, December 13, 2012

Old bottles of polish: Helena Rubinstein 262 Lemon Heat


Hello everyone!

(If the photos are too far to the right, please use Google Chrome!)
Helena Rubinstein #262 Lemon Heat, 2 coats


Today I decided to show you one of my old nail polish bottles. It was bought before I found out that Helena Rubinstein test on animals. It is difficult for me to post about products that are tested on animals because I don't want to make people buy it, and I don't want to support brands that are harming animals. But the reason why I made this exception, is that this is a nail polish that I don't think is for sale any more. Please tell me in the comments what you think. Is it OK to show you nail polish that is tested on animals when it's vintage?

Helena Rubinstein #262 Lemon Heat, 2 coats


Helena Rubinstein #262 "Lemon Heat" is a deep yellow frost. I love the color, but it doesn't look good with my skin tone. I'm not sure when this bottle was bought, but it's a long time ago. I tried to check if this polish is still available, but could only find some of the round ones, none of these square bottles.

Helena Rubinstein #262 Lemon Heat, 3 coats

I  tried it on again today (after many many years), because I have very few yellow nail polishes, and need a yellow to make my "Festival Of Lights" mani for the Winter Holiday Challenge. And now I appreciate the color much more. It is such a unique color. Nearly orange. But I still think it would look better on someone with a darker or black skin tone.

The formula was flawless. No need for thinner, and nearly no clean up, although I often got too much polish on the nail. I just removed the excess around the nail right away. And I had to concentrate to make the brushstrokes straight, as with all frosts. The only change was that the cap separated from the brush.

Helena Rubinstein #262 Lemon Heat


I had some problems with lighting, so I had to use the photos that were taken before top coat. I have written under each photo how many coats that were used; 2 or 3 coats. In real life I can still see a little visual nail line, but it doesn't show in all angles.

Helena Rubinstein #262 Lemon Heat, 3 coats


I have more vintage bottles, but many of the brands are on the animal organisations' lists of brands that do test their products on animals. And sadly I have not found the rest of the bottles on any lists, so I don't know if they are tested or not. Do you still want me to show them? I know a few of my readers are very interested in vintage nail polish, and that many of you are concerned about animal testing.

Lani

Wednesday, December 12, 2012

Sat- ART- Day Club: Magnetic color blocking


Hello everyone, and happy 12.12.12!!! :-)

Magnetic color blocking, Sat- ART- Day Club

I like that I get to try new techniques in the Sat- ART- Day Club. I do have a "to do list", but this challenge helps me to get started. For Saturday we were making a colour blocking mani. I'm going to use magnetic nail polishes to add a little pattern, and because i want to use an untried magnet and two untried magnetic nail polishes.
This mani is inspired by this post by Esmaltes da Kelly who was the first I saw to use several magnetic nail polishes on the same nail with one pattern. My mani started out as a color blocking mani, but evolved into something that I'm not sure if can be classified as color blocking any more. Anyway, here's what I made on Saturday:

Thursday, December 6, 2012

Snowflakes and snowfall- Winter Holiday Challenge #1


Hello everyone!

Snowflakes and snowfall


The Winter Holiday Challenge was created by Dimpal and her friend Lorna for the facebook group Crumpet's Nail Tarts. As you see below, there will be two challenges each week in December, but if I've understood it correctly the main goal is that we are having a good time doing nail art. So it's possible to post later than the deadline, and we can choose to not participate on all the themes. And that suites me, because I have ideas for some of the days, but not for all of them, and also I'm not sure if I'll get time to do all the nail art and make all the blog posts.

Wednesday, December 5, 2012

BLING nails- Polish Days December


Hello everyone!

BLING nails- Polish Days December


It's Polish Day again, the last one this year. Today (yesterday) we are making Bling nails. I've chosen to make dark and sparkly holographic glitter nails. And I'm very curious about the others' bling nails. As usual, there will be thumbnails with links to all participants at the end of the post. For information about Polish Days, and how you can join in next month, just click on the badge below. More photos and a list of what I used after the jump.

Monday, December 3, 2012

Linda Johansen Nail Candy: Mystic Blue


Hello everyone!


Linda Johansen Nail Candy: Mystic Blue


This is Linda Johansen Nail Candy Mystic Blue. First photos of Mystic Blue on its own, and after that you can see what it looked like when I tried to layer three glitters over it; Gina Tricot#73 Disco, Orly Sunglasses at Night, and Ozotic #528. My swatches are piling up, so I'm now showing you over a month old pictures.


Sunday, December 2, 2012

Sat- ART- Day Club: Winter scarves or outfits


Hello everyone!

Sat- ART- Day Club: Winter scarves or outfits


Today's theme in the Sat- ART- Day Club is "Winter scarves or outfits". My inspiration was the polar bear candle that you see in many of the photos. And as you hopefully can see, I made a head with a tuque/ beanie and a scarf.

Saturday, December 1, 2012

Sat- ART- Day Club: One stroke mani


Hello everyone!

One stroke mani


This is my first one stroke mani. I have seen tons of tutorials on YouTube, and have wanted to try this technique for a long time. But I needed the Sat- ART- Day Club to get me started. So this is what I made for last weeks Sat- ART- Day Club, when the challenge was to make a the one stroke mani. I'm sorry that I haven't written this blog post earlier. Actually, I had hoped to make many more posts in November, but things don't always go as planned.

I especially have to thank Cutenails/ Tartofraises and Marjorie Harris for teaching me the one stroke technique. I'll include two of their videos for you at the end of the post. This mani is especially inspired by Cutenails, although it's my own design.