Tuesday, July 23, 2013

Deborah Lippmann: Forget You


Hello everyone!


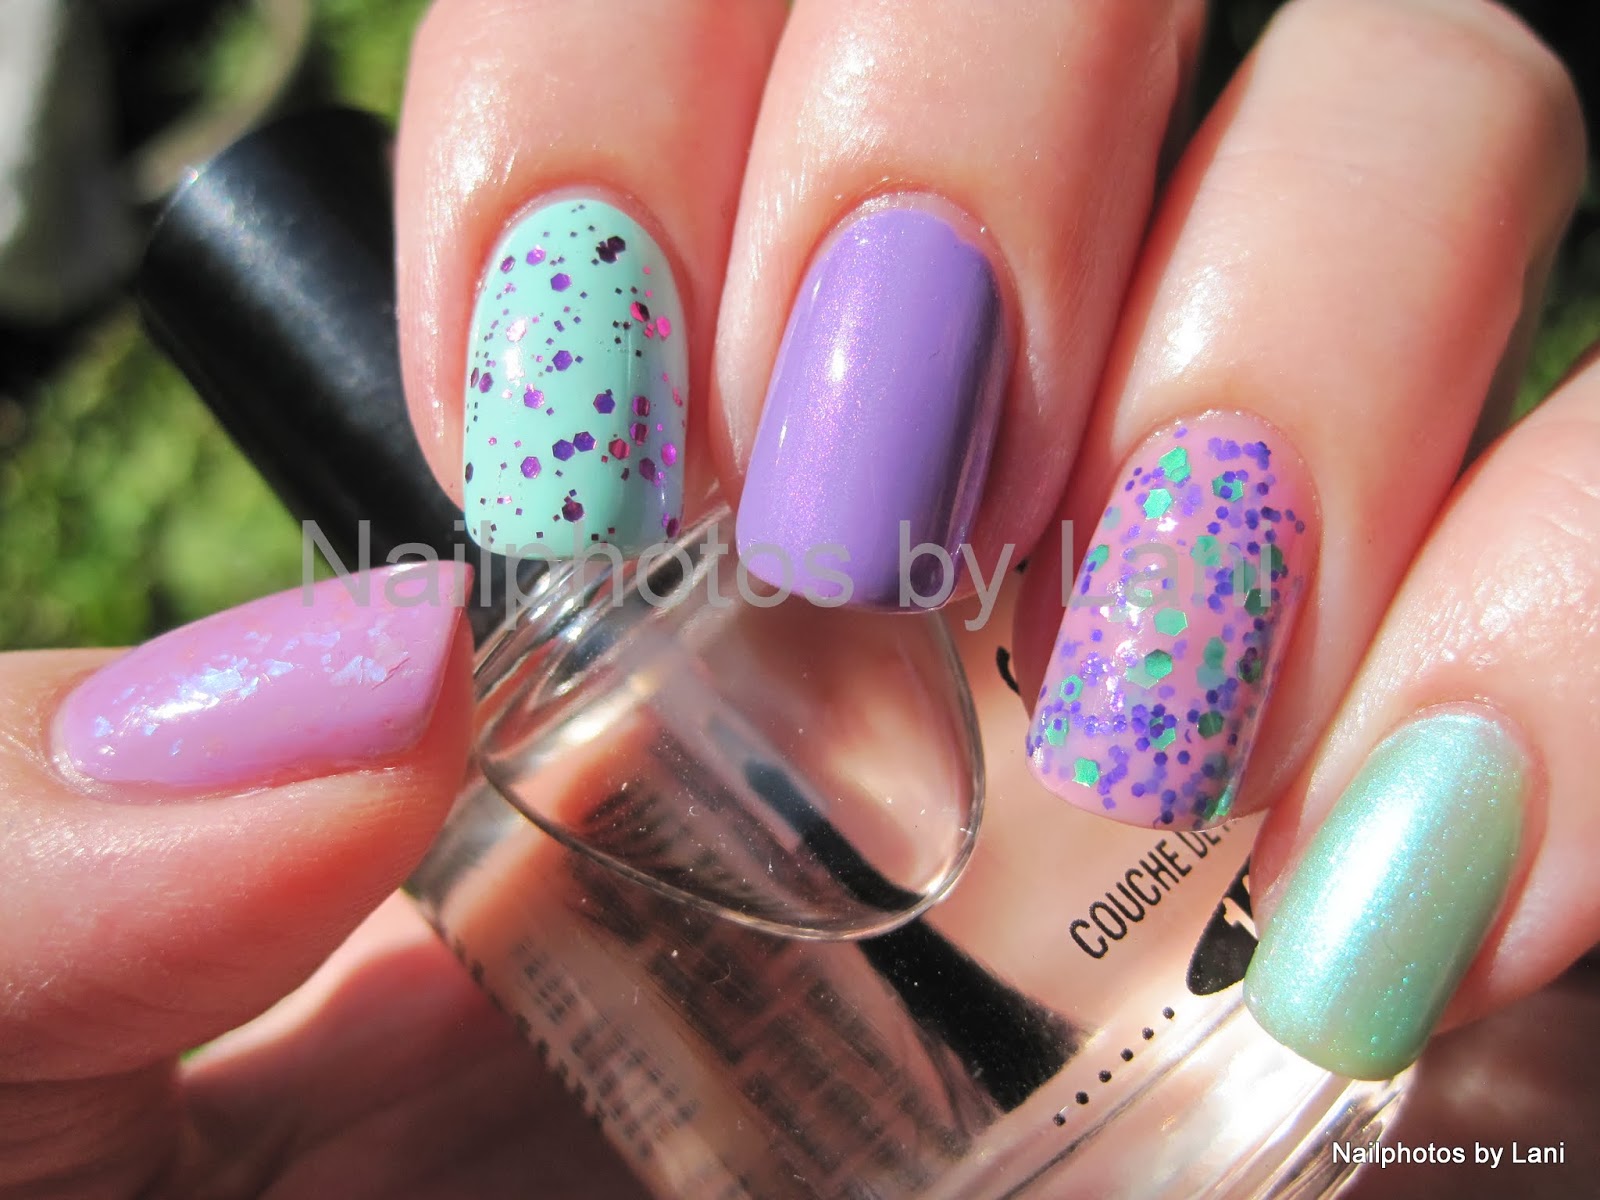
I bought Deborah Lippmann's Forget You a long time ago. Then (in 2011?) I wasn't used to wearing black nail polish, although I had no problem wearing black clothes. But now I feel ok with dark nails, so I'm finally showing you this multicolored glitter in a black jelly base on it's own. (I have shown pieces of it in this geometrical nail art.) Here is a close- up, where you can see the shape of the glitter:


I bought Forget You as a part of the "Get this party started" set, but now it's possible to buy the bottles separately. (Sorry, but I think I've seen Forget You in shops, but now that I tried to double check before I posted, I couldn't even find it on her web site)


The three bottles in the set are all multicoloured glitters; "Happy Birthday" in a clear base, "Forget You" with black base, and "Candy Shop" in bubblegum pink base. I must admit that I only got the set because I wanted Candy Shop, but now I'm glad I have all of them. And I'll show you the purple based glitter soon (I hope). I't called "Let's Go Crazy". It's strange to see how different they look, even though they're supposed to contain the same glitter.
(I used Happy Birthday for nail art in my first blog post: Glitter-illusion-dots , my entry to Chalkboard Nails nail art contest. And the Candy Shop post is my most popular. I have used Happy Birthday many times, and showed it on the blog over a turquoise- white- orange gradientas a layering option, and as a glittery tip with Christmas stickers, in addition to the first post. The plan was to franken different colored jellies to use with Happy Birthday, but that never happened...)

On these photos I used three coats, but that was just because I was curious. Forget You is opaque in two coats, and I think the third coat darkened the glitter more than necessary. I was wearing two coats on my left hand, but the only photo with two coats is the close- up.


As all her nail polishes, Forget You is named after a song.


And as I like to mention, Deborah Lippmann nail polishes are vegan, free of formaldehyde, toulene and dibutyl phtalate, and most important: not tested on animals :-)

What I also like is that Deborah Lippmann makes such a variety of nail polish. You can see her collection, and find a store locator on her web site.

Lani

Sunday, July 21, 2013

Favorite Color Combo- stamping nail art


Hello everyone!

Favorite Color Combo


Today's challenge in Adventures In Stamping is "Favorite Color Combo". My favorite colors are green and purple. Here I use different shades of the two colors. I like all kinds of purple, from pastel to vampy dark, and from nearly pink to nearly blue(, maybe because I also like pink and blue?) I also love most greens, but not all of them. In this mani I tried to put my favourite colors together, but now that I see the result, I don't think it's my favourite color combo.


Favorite Color Combo

Used:


Thumb:
GOSH: #002 Misty Mauve
Nfu- Oh: #50

Index finger:
Picture Polish: Honey Dew
Picture Polish: Gene Doll

Middle finger:
IsaDora: #714 Lilac Bikini
Konad: SP Green

Ring finger:
Golden Rose: Jolly Jewels #105

Pinkie:
Joss: C701 Kyoto Green
Konad: SP Violet Pearl

GOSH: #002 Misty Mauve , Nfu- Oh: #50, Picture Polish: Honey Dew, Picture Polish: Gene Doll, IsaDora: #714 Lilac Bikini, Konad SP Green, Golden Rose: Jolly Jewels #105, Joss: C701 Kyoto Green, Konad SP Violet Pearl


Stamping plates:

I used Konad m69 on the pinkie and middle finger. I also stamped with Konad SP Green and Cheeky Jumbo plate 9 Wild at Heart on the thumb, but it didn't turn out so well, but here is a photo of what it looked like before the stamping, where you can see the thumb:


Favorite Color Combo- before stamping

I liked it like this to. Here is one more photo with the stamping. (The Jolly Jewels polish didn't look sheer in real life)

Favorite Color Combo, bottle: Konad SP Violet Pearl


What is your favorite color combo?

Lani

Saturday, July 13, 2013

Holographic Nail Foil from KKCenterHk, and how to use it


Hello everyone!


Today I want to show you the nail foil that KKCenterHk let me try. I have already showed this foil with huge drop shaped rhinestones and a glitter french about a month ago. To see that post, click here. I really enjoyed photographing this foil, because it looks very different in different light conditions, when I move my fingers, and it also reflects the color of the surroundings. For instance my top and the sky. And because it looks even more "super holographic" on the photos. It was surprisingly easy and quick to apply the foil. I just followed KKCenterHk's video tutorial. First I'll show you how I applied the foil, and then the rest of the photos. Feel free to scroll down to the photos if you want to :-) The photos really look very different.


N.NAIL Shiny Silver Nail Foil Transfer [NNAIL-E24] and glue:

N.NAIL Shiny Silver Nail Foil Transfer [NNAIL-E24], glue

How to use nail foil step by step:


1 Apply base coat

2 Apply silver nail polish (the same color as your foil), and let it dry

3 Cut one piece of foil for each nail

4 Apply glue (I used an orange stick to remove excess glue, but that was probably not necessary.)

5 Wait until the glue has changed from white to transparent.

6 Put a piece of nail foil over a nail, and carefully use a Q- Tip to make the foil stick to the nail.

7 When the foil is no longer attached to the plastic, carefully lift it

8 Clean the foil from your cuticles with a flat brush dipped in acetone or nail polish remover. (It is much faster to remove foil than nail polish)


Top coat:


None of my top coats worked, so all these photos are taken before top coat. But I've read that it's possible to use Picture Polish Revolution as top coat over foil. Thank you More Nail Polish for finding out, and thank you Neglelakkmani for spreading the news to me! :-) I'll try Revolution next time. If you want the foil to last more than a few hours, you need a top coat. I've also heard that water based top coats can be used. Have you found a top coat for nail foil?

More photos:


Light source: LED lamp


I've used the foil like this twice. I really like it, although it looks a bit wrinkly. I also tried to use it for stamping. But the glue didn't transfer well to the stamper. Next time I think I'll try to use a tiny brush to put glue on areas where I want foil. If you want good "foil nail art ideas", Robin Moses has several YouTube tutorials where she used nail foil.


The name of this nail foil & direct link to where you can buy it:

N.NAIL Shiny Silver Nail Foil Transfer [NNAIL-E24]

It's possible to buy only foil or foil and glue. If you want to buy something from KKCenterHk, the coupon code Nailphotos by Lani will give you a 10 % discount. (You can also find my coupon code on the right side)


The KKCenterHk video:

I think this is the same video that you can find online on the page where you can buy the foil. The video shows how to apply nail foil.


Thank you KKCenterHk for giving me this beautiful nail foil set!!! :-)


Lani

Thursday, July 11, 2013

Tri- Polish, Day 16/ June #4: Cherries


Hello everyone!

 Cherries
This started as stamping nail art, and after painting over and over it, it ended up like this. The red nail polish I used for the cherries is actually called Cherry!  I didn't  notice that  until now when I sit here writing. As you might have seen, I've shortened the headline a little. This is "The Tri- Polish Challenge". I wonder if I should start calling it "TPC, Day..." or do as I've done today. What do you think?

 Cherries


Sorry about the extra text on the photos lately. Today I've made the text bigger on some photos, more transparent on some, and placed it where it felt best on each photo. Do you have any ideas or advice? I'm thinking about changing the watermark.

 Cherries

What I did:

I started with purple nails, and used the rose stamping plate from Messy Mansion and a regular gold polish to stamp the leafs. Then I made two big pink dots, and added red, and mixed them together so that it could resemble cherries. Then I used a black striper to make two lines by the cherries. The leafs looked too sheer, so I tried to outline them. Not being good at that, I filled in the center of the leafs with black too. Then I found my tiniest round brush, and tried to paint gold stripes to make the leafs more naturalistic. But it kind of looks like I just put a lot of gold nail polish on the leafs. The gold glitter is supposed to resemble leafs, and the red glitter is supposed to resemble cherries. I also added gold glitter where I felt that something was missing, and on the tips, and top coated. I use Seche Vite. And I use it whenever I do something I like. I'm still so new to this that I have to save what's good (with a layer of top coat) before I ruin it. Because then if I'm very careful, I can an remove the bad stamping (or stupid thing I have done) with a brush dipped in acetone. After all this talking, I hope you're  ready for the rest of the photos :-)

Cherries

Cherries

Cherries

Cherries

Cherries

Cherries

Cherries

Cherries

Used:

GOSH: #571 Wild Lilac -purple
GOSH: #598 Bubble Gum -pink
H&M: Cherry- red
H&M: Run Baby Run -gold
H&M: Black -nail polish with striper brush -from a set with white, red and black
Orly: Rockets Red Glare - red glitter
Deborah Lippmann: Boom Boom Pow- gold glitter
Messy Mansion: MM07 -stamping plate
tiny brush
dotting tool


Cherry, Bubble Gum, Wild Lilac, Run Baby Run, black striper, Rockets Red Glare, Boom Boom Pow


This is the last Tri- Polish nail art for June. I'm not sure if I should continue with this challenge, because I often post too late. And I have very many swatches that I should have showed you, in addition to other nail art ideas. I've also started to really like stamping.

Below you can see what the other participants made for this challenge day!


Lani


Wednesday, July 3, 2013

The Tri- Polish Challenge, Day 15/ June #3: Dog Finger Painting- inspired by Jenna Marbles


Hello everyone!

Dog Finger Painting


My Dog Finger Painting nails are inspired by Jenna Marbles' Dog Finger Painting YouTube video. If you haven't already seen it, here it is:


When I saw her video, I immediately knew that I wanted to make something like this on my nails.

Dog Finger Painting


As you see, the dogs walked very carefully on my nails. But after I took the photos, I noticed that they had left some dog hairs... So, don't look too closely! And I accidentally hit the wall with my ring finger nail before the top coat dried. I wish I had taken photos before that.

Dog Finger Painting


I used all the Tri- Polish Challenge colors for June (pink, red and purple), and all the other colors we can use; white (regular and stamping polish), black stamping polish, and regular gold and silver nail polish. And my two dogs Cheeky Jumbo 9 Wild at Heart (long name :-) ) and Bundle Monster -323. Cheeky is the one with the small paws. Bundle Monster is bigger, and looks nearly like a little bear. I painted the accent nail pink, and used a sponge to make a purple- pink- red gradient. The red polish stained my skin, so I don't think I will use the red for gradients again.

Dog Finger Painting


For those of you who haven't seen it already, here is a photo and a list of my Tri- Polish Challenge polishes for June:

GOSH #598 Bubble Gum -pink
GOSH #571 Wild Lilac -purple
H&M Cherry- red

My  Tri- Polish Challenge nail polishes for June


As usual you will find thumbnails to the other Tri- Polish Challenge participants' nail art for Day 15/ June #3  below! (Yes, I was supposed to post this last week, but better late than never...)


Lani

No animals were harmed during the making of this nail art.